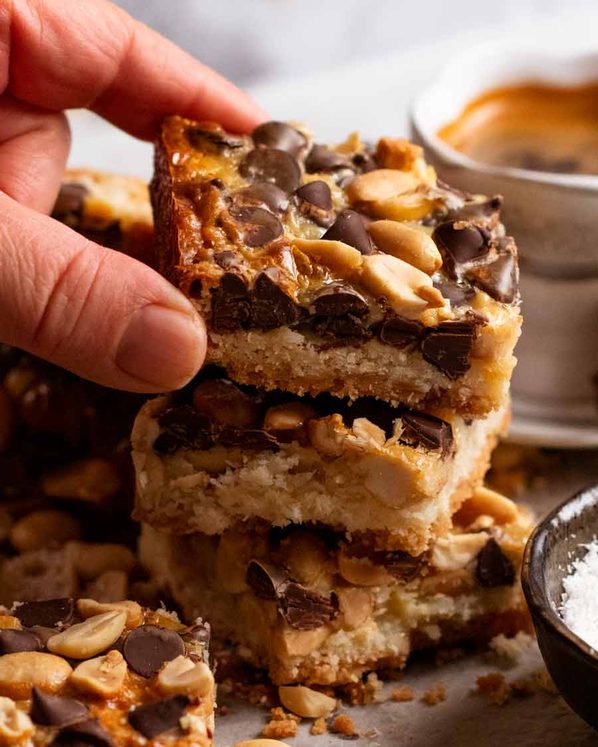
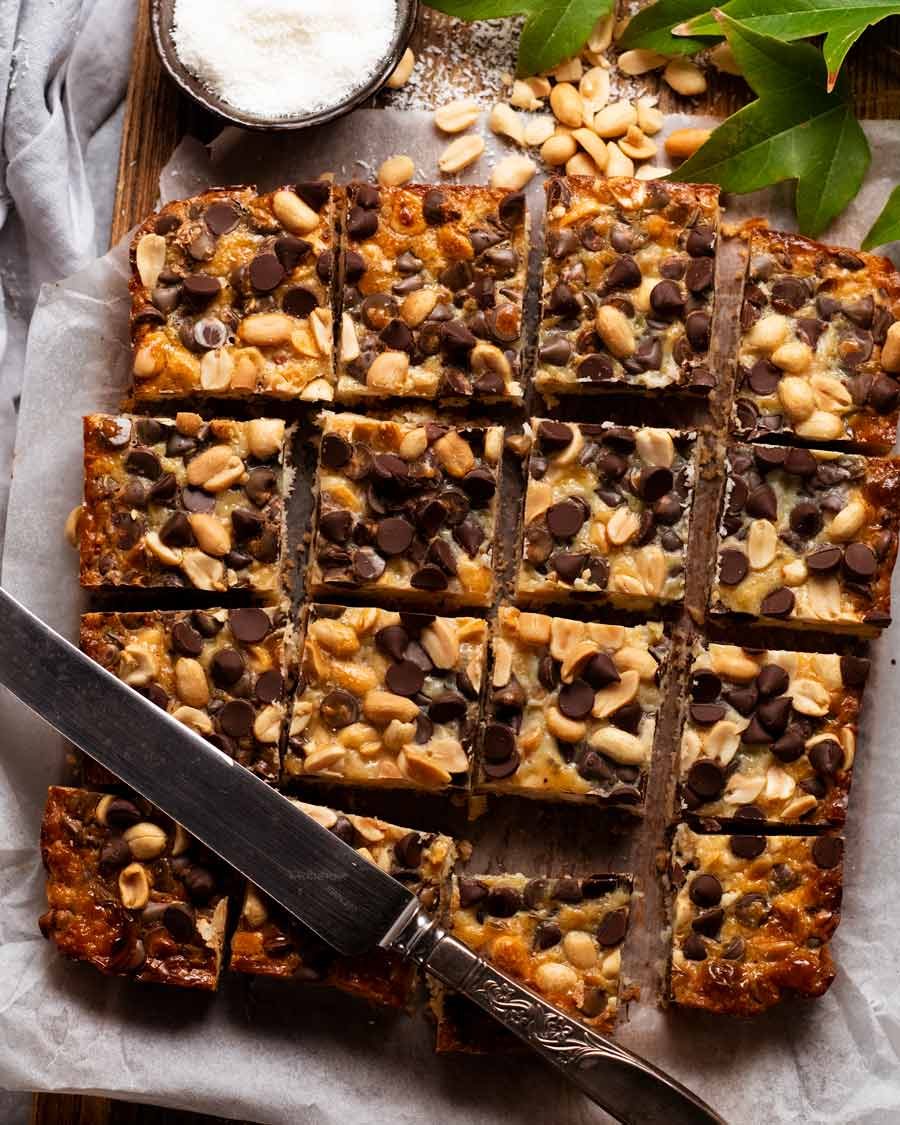
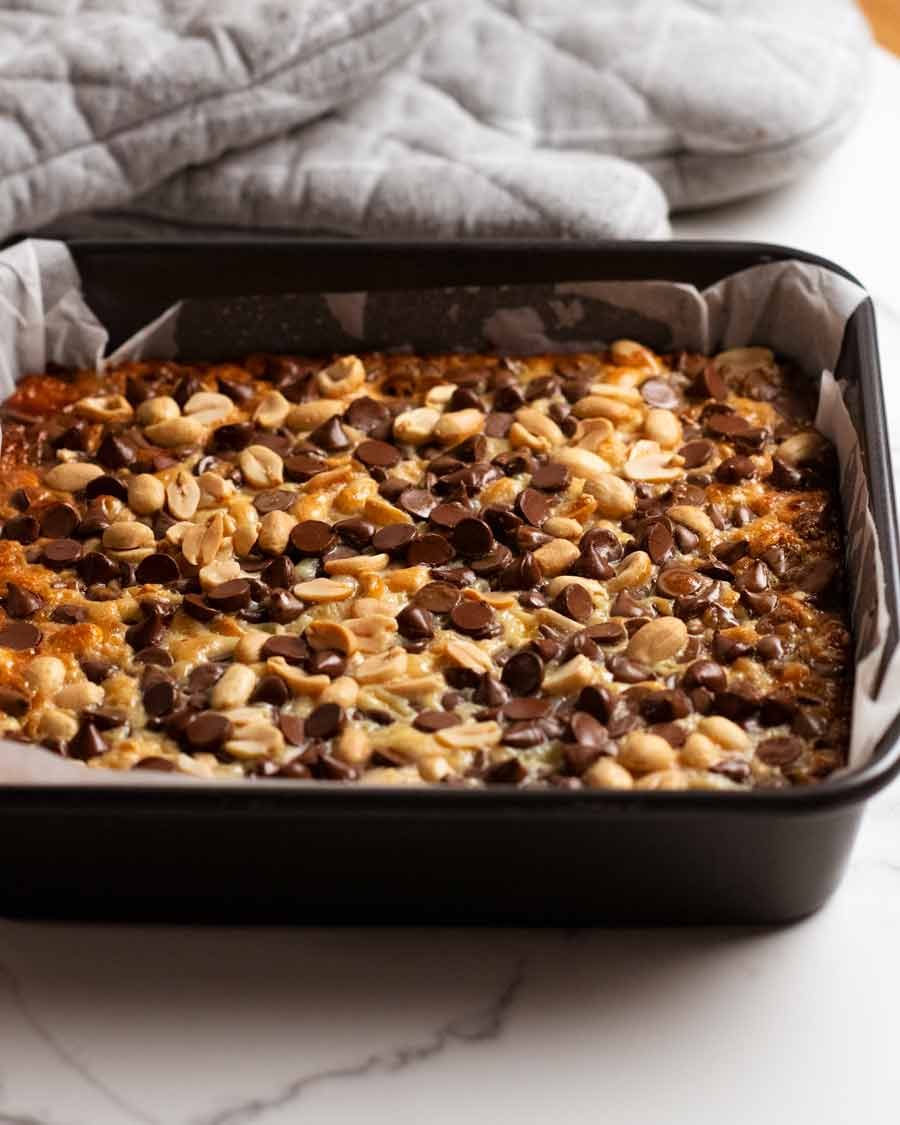
I’m not kidding! These chewy caramel-y chocolate nut bars are made without a single bowl. From scratch. They’ll save you all those times you promise to make something sweet but run out of time!
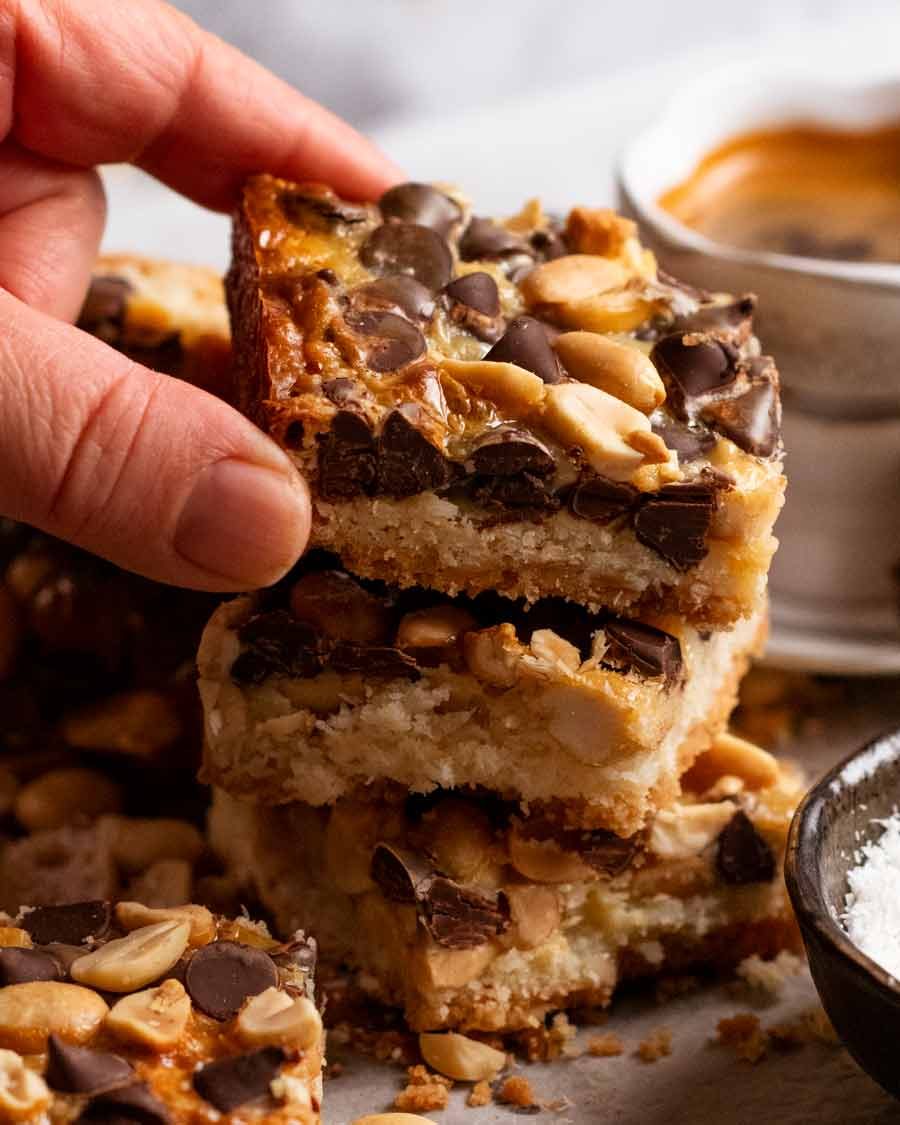
Meet my emergency quick sweet-treat!
I am one of those people who always overcommits. Especially when it comes to anything food related. Then 7 out of 10 times, I find myself in a flurry at the last minute because I promised to bring something sweet for lunch with friends, or to make something for my friends’ son’s school bake sale because she works full time and doesn’t have the time to bake something.
So it’s super handy to have a few really fast sweet recipes up your sleeve and this is one of mine. Just wait until you see how it’s made – it’s SO QUICK and you don’t need a SINGLE BOWL!
How to make these no-bowl chocolate nut bars
I know you’re probably wondering how on earth these bars are made without using a bowl at all so I’ll cut straight to the chase! Here’s how it’s done:
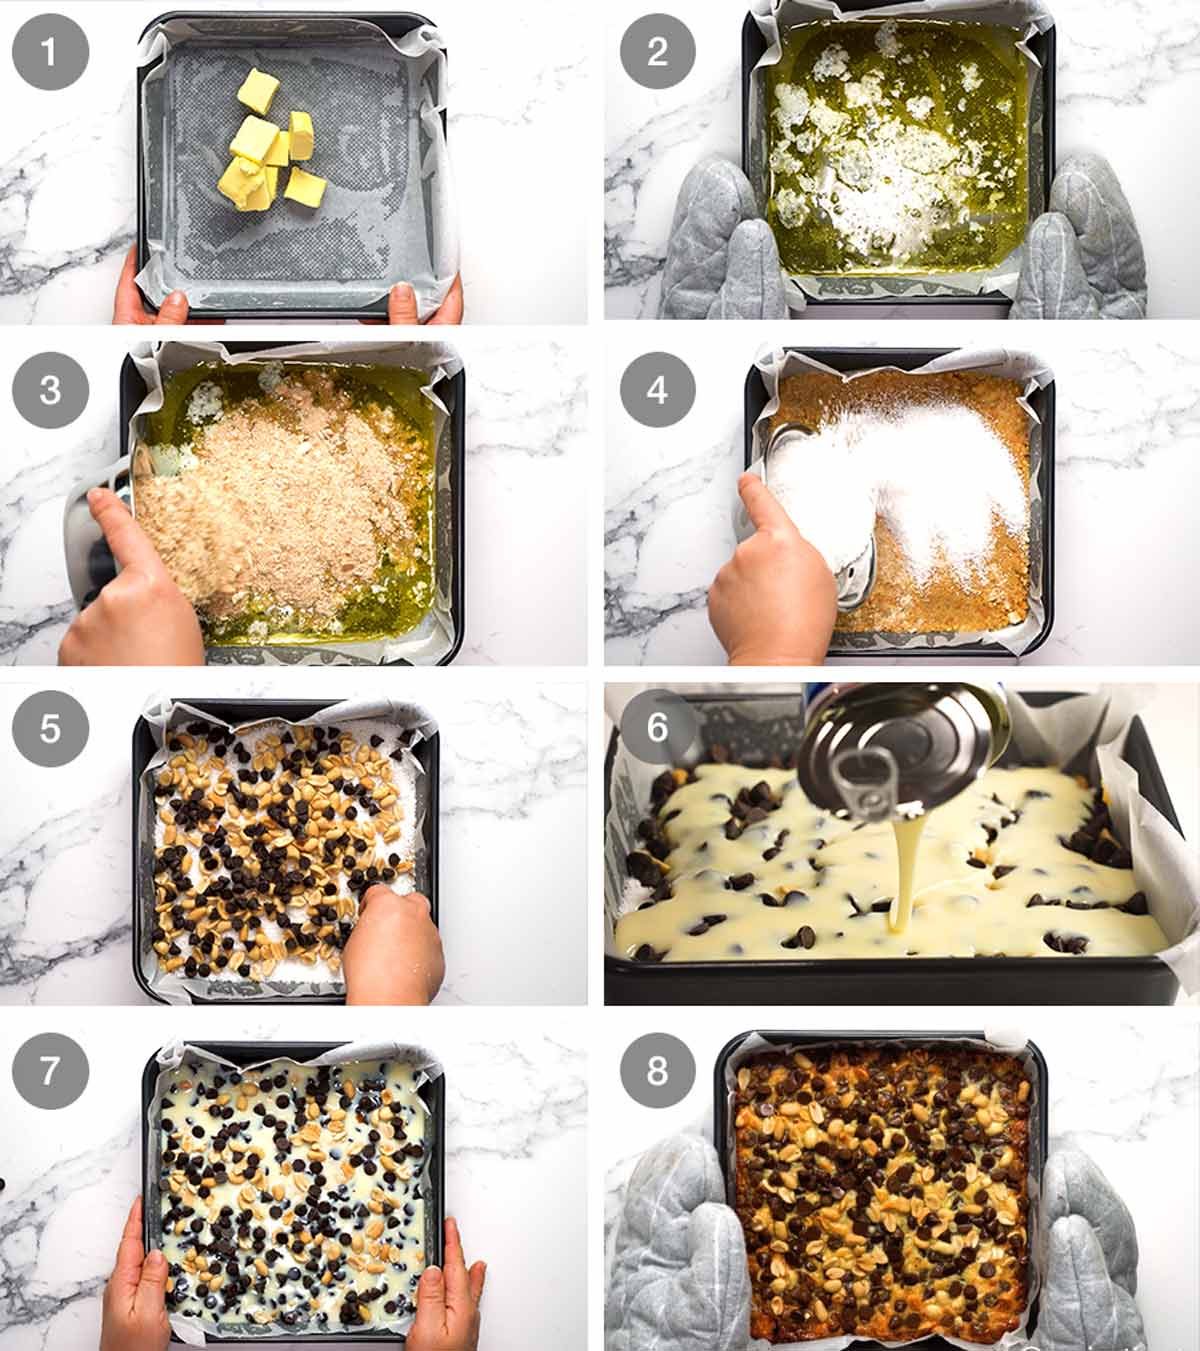
It’s made by creating a biscuit base using butter melted in the pan then sprinkling over crushed biscuits and desiccated coconut. Then it’s topped with nuts (your choice), chocolate chips, then finally topped with condensed milk which is what brings the whole bar together. Once baked, it holds together and becomes gloriously chewy, caramely bar!
-
Place butter straight into a lined pan and melt it in the oven while it is pre-heating.
-
Swirl to spread the melted butter across the base.
-
Sprinkle crushed biscuits across the base, then spread using a spoon/spatula/hands and lightly press down. I’m not meticulous here about even spreading, this is, after all, an emergency recipe!!
-
Sprinkle coconut across the base.
-
Top with about 2/3 of the nuts and choc chips
-
Pour over condensed milk.
-
Top with remaining nuts and choc chips.
-
Bake 30 minutes until light golden on the edges, then cool before cutting!
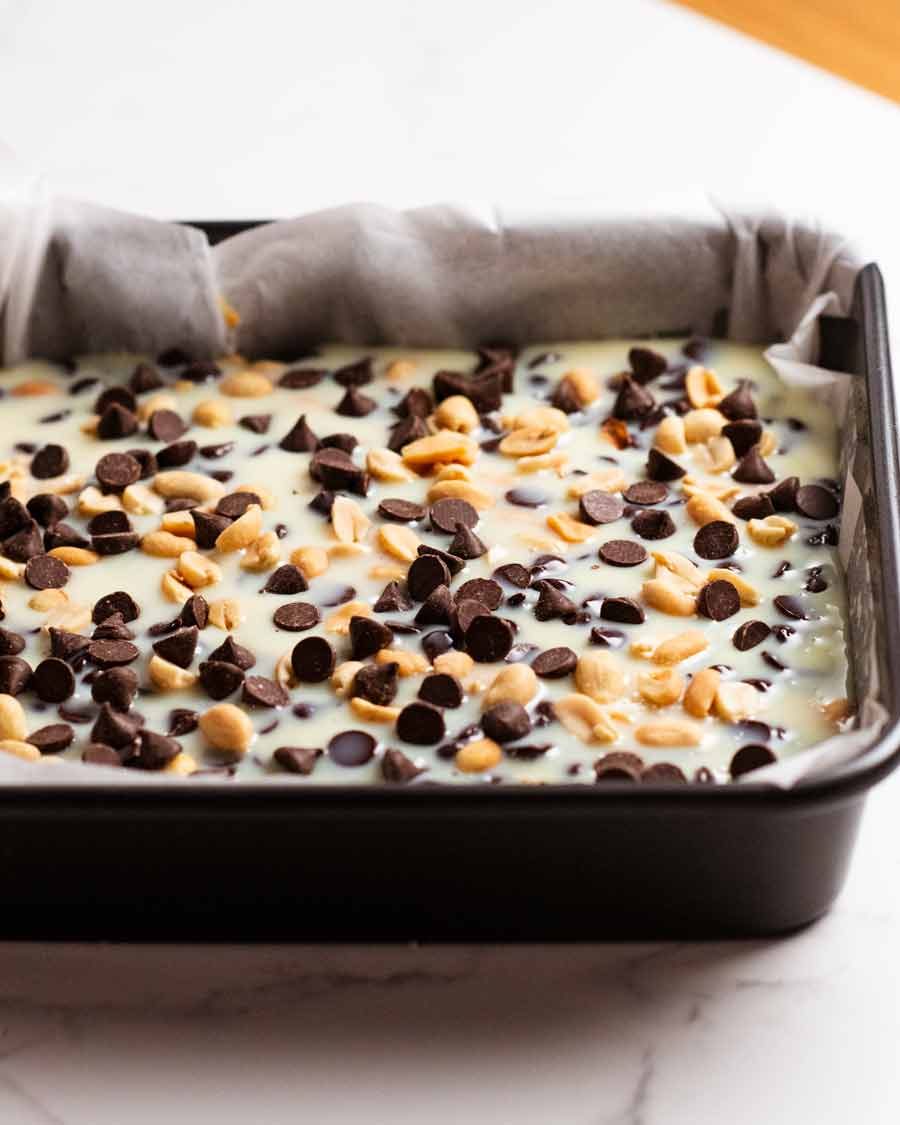
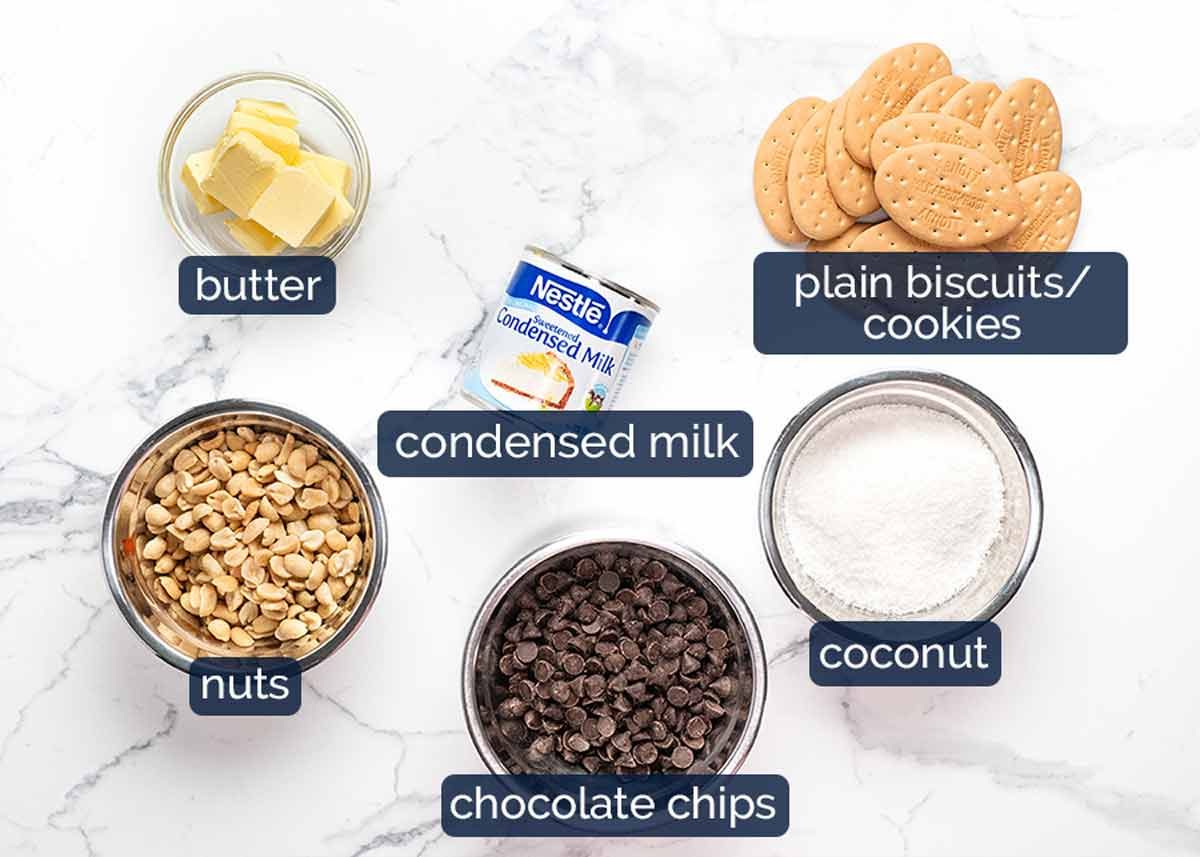
Ingredients in No-bowl chocolate nut bars
Ordinarily I put the ingredients before the recipe steps, but I feel like for this recipe it should be other way round! So, here’s what you need. It’s fabulously versatile – any plain biscuits, switch the peanuts and chocolate chips with other things like dried fruit and other nuts.
-
Condensed milk – This sweetened milk is like a thick syrup and this is the key ingredient that holds the bar together. Standard cans here in Australia re 395g (14oz) and are sold in the long-life dairy section in grocery store aisles.
-
Peanuts & chocolate chips – Feel free to substitute these with other add-ins of choice. Especially hand if you have a peanut or nut allergy in the family. Try pepitas and dried fruit!
-
Coconut – Desiccated coconut blends into the crushed biscuits to create the base. If you don’t like or don’t have coconut, feel free to add extra biscuits instead, or leftover wheat germ / wheat bran (if you made last weeks’ Breakfast Muffins!).
-
Butter – For buttery goodness and also to hold the base together.
-
Plain biscuits/cookies – Anything that can be crushed will work fine here. I’ve used all sorts over the years – Marie, Arrowroot (featured in today’s recipe), Graham crackers, scotch fingers. I once even made this with chocolate Oreo cookies by scraping the filling off!! (It was an emergency and it was darn delicious!)
It’s not a hack
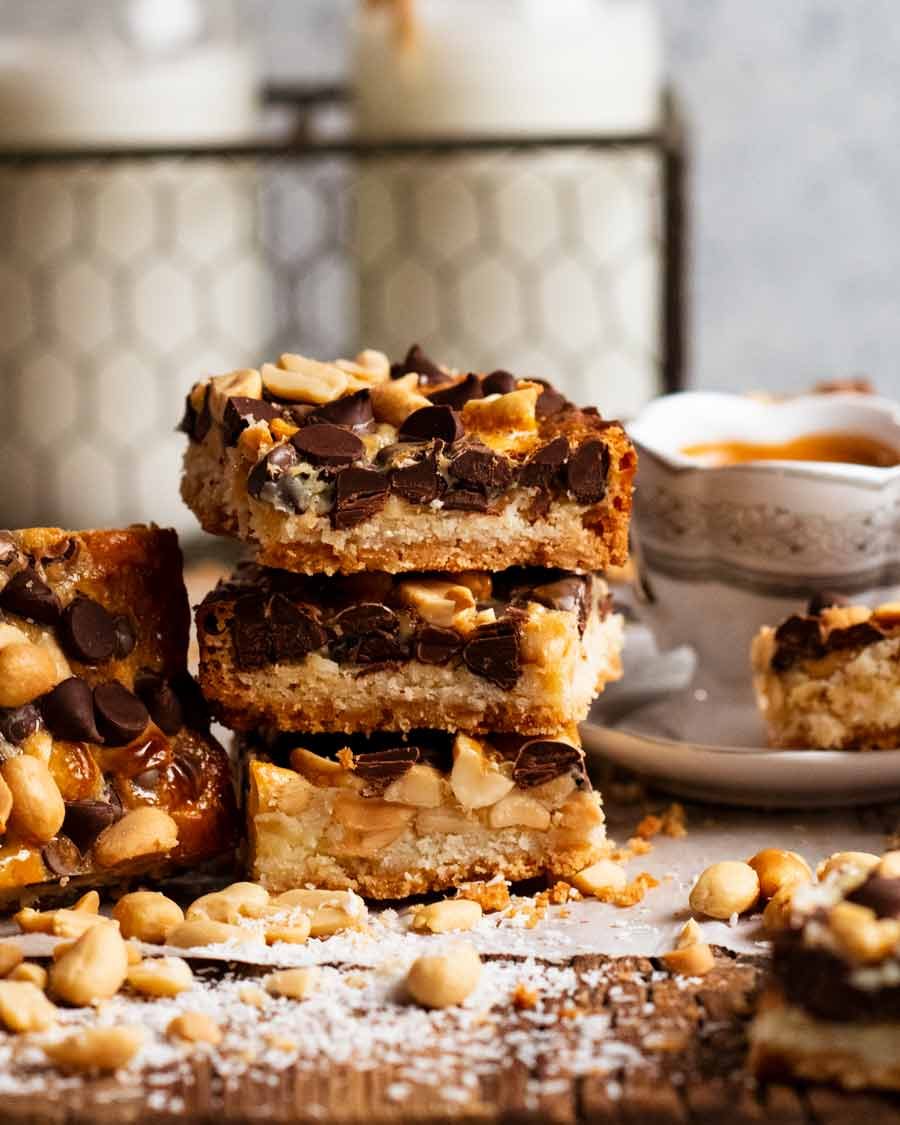
This is one of those recipes that is not a “hack”, but rather an incidental side benefit is that it can be made without dirtying a single bowl. I would make these even if I had to use a bowl to make them!
So keep this one tucked away for one of those days when you’re in a rush and you’ve promised to make a sweet treat for your family or friends!! – Nagi x
Watch how to make it
Hungry for more? Subscribe to my newsletter and follow along on Facebook, Pinterest and Instagram for all of the latest updates.
No-bowl Chocolate Nut Bars
#wprm-recipe-rating-0 .wprm-rating-star.wprm-rating-star-full svg * { fill: #343434; }#wprm-recipe-rating-0 .wprm-rating-star.wprm-rating-star-33 svg * { fill: url(#wprm-recipe-rating-0-33); }#wprm-recipe-rating-0 .wprm-rating-star.wprm-rating-star-50 svg * { fill: url(#wprm-recipe-rating-0-50); }#wprm-recipe-rating-0 .wprm-rating-star.wprm-rating-star-66 svg * { fill: url(#wprm-recipe-rating-0-66); }linearGradient#wprm-recipe-rating-0-33 stop { stop-color: #343434; }linearGradient#wprm-recipe-rating-0-50 stop { stop-color: #343434; }linearGradient#wprm-recipe-rating-0-66 stop { stop-color: #343434; }
Ingredients
- 100g (7 tbsp)unsalted butter, cut into a few chunks
- 1 cup (100g)plain biscuits, crushed(eg. Marie, Arrowroot, digestives, Graham crackers – Note 1)
- 1cupdesiccated coconut(unsweetened)
- 1cupunsalted peanuts, or other nuts of choice (Note 2)
- 1cupdark choc chips(US: semi-sweet chips) (Note 2)
- 395g (14 oz)(1 can)sweetened condensed milk(Note 3)
Instructions
-
Preheat oven to 180C/350F (160C fan-forced)
-
Line pan – Lightly spray a 20cm/8″ square pan with oil then press in a sheet of paper (no need to be meticulous here).
-
Melt butter – Place the butter in the pan then melt in the oven for 5 minutes.
-
Biscuit base – Swirl pan to spread butter then sprinkle over crushed biscuits. Spread then gently press down (again, I am not meticulous about evenness here).
-
Layer – Scatter over the coconut, followed by about 2/3 of the peanuts and choc chips (reserve some for the top). Pour over condensed milk, spread for even coverage. Top with remaining nuts and chocolate chips.
-
Bake for 30 minutes or until the edge of the surface is golden brown.
-
Fully cool before cutting (3 hours on counter, or 1 hr counter + 1 hr fridge). Remove using paper overhang then cut and eat!
Recipe Notes:
Nutrition Information:
Originally published way back in September 2015. Republished with a brand new video and photos by reader request!
Life of Dozer
New house. New shoot studio. Same scavenger.

SaveSave
