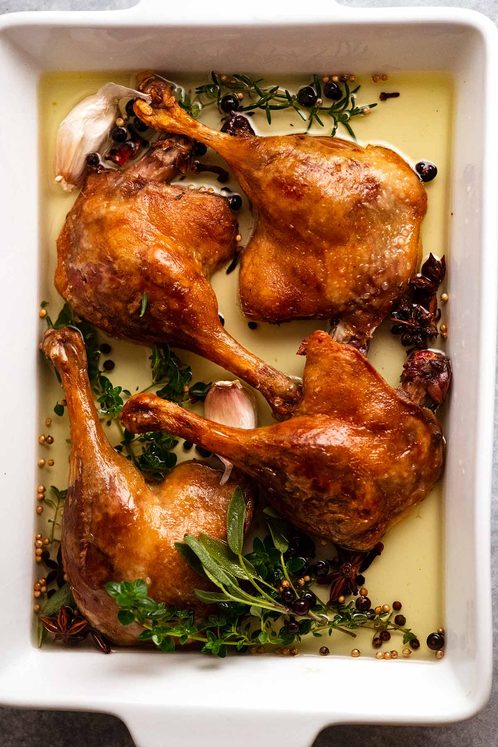
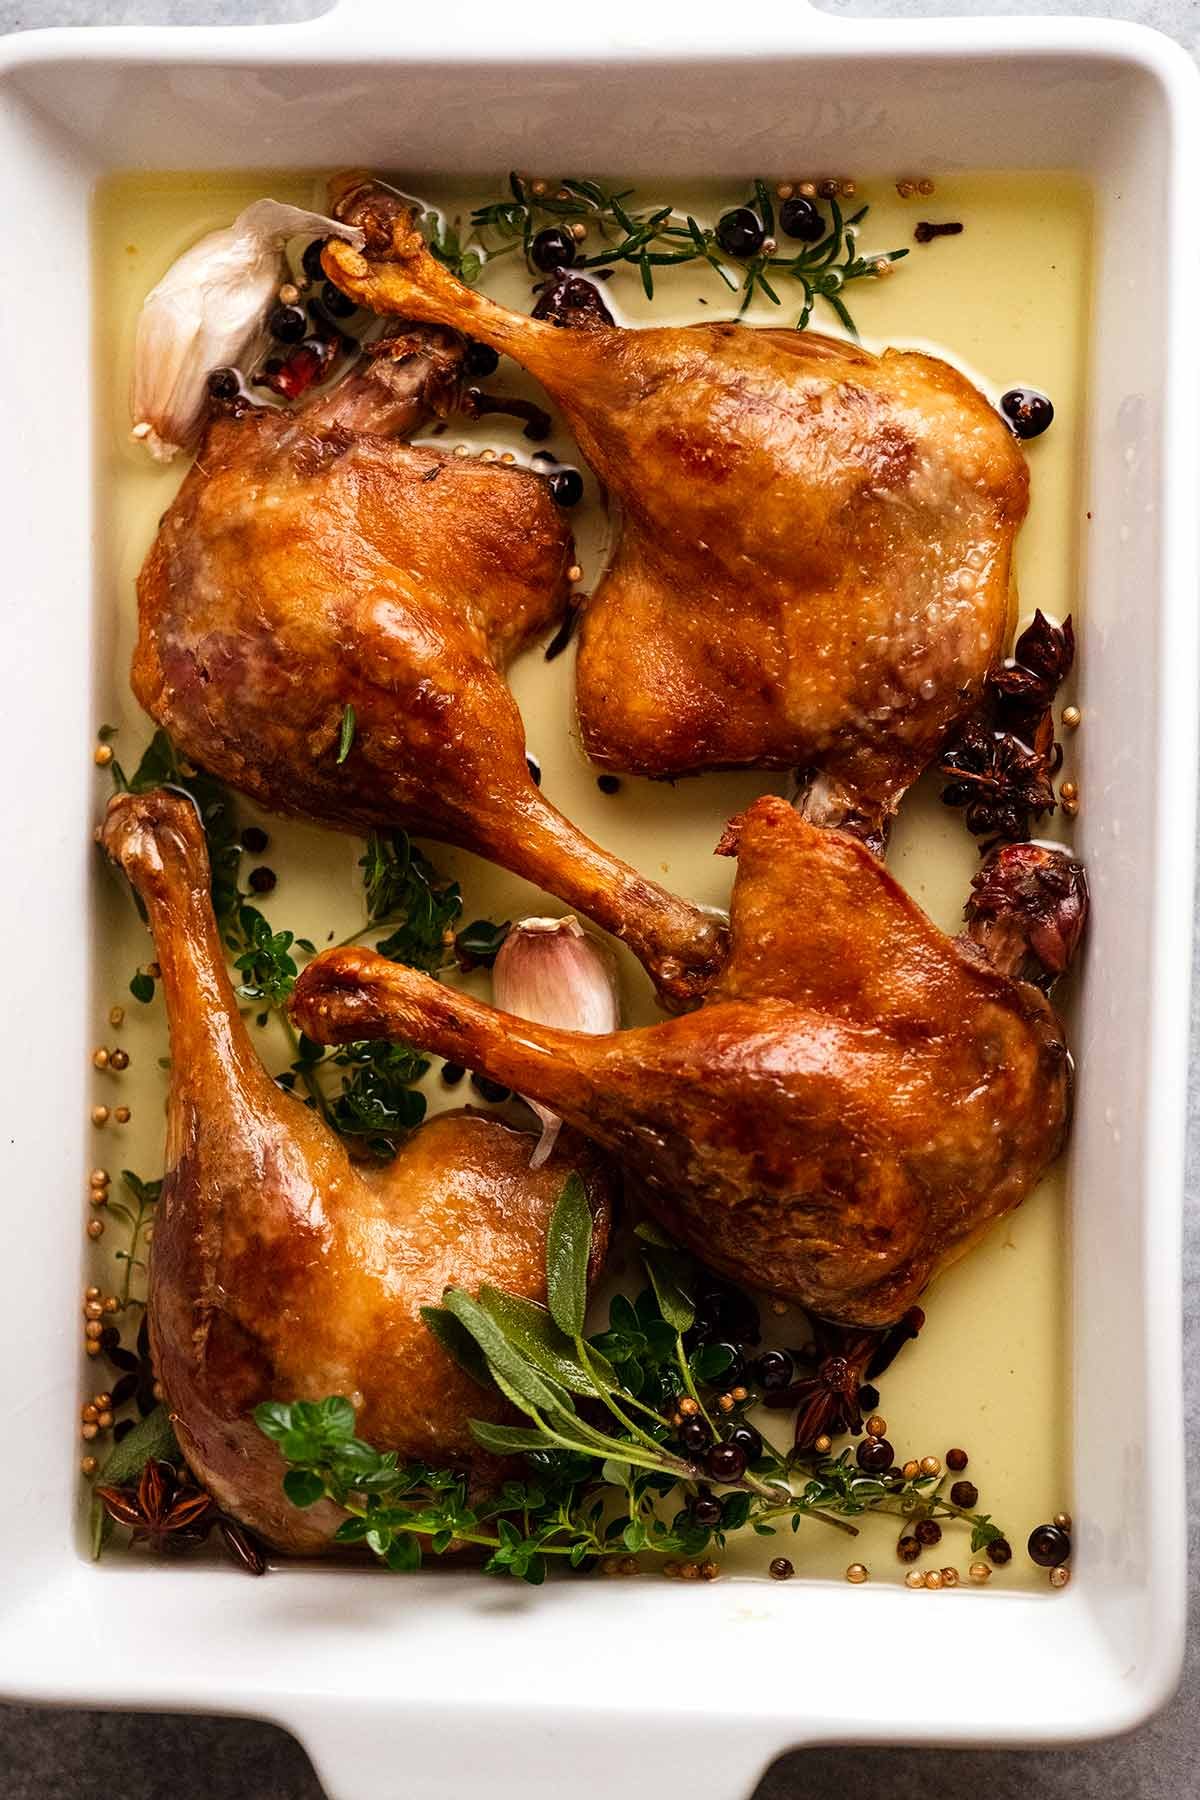
Duck Confit is an adored, age-old French preparation for duck. Called Confit de Canard in French, duck legs are slow-cooked in duck fat until the meat is meltingly tender, then the skin crisped to golden perfection. This is a traditional Duck Confit recipe that’s low-effort and DOESN’T require buckets of duck fat!
🇫🇷Welcome back to French Bistro Week!🇫🇷
From time to time, I like to dedicate a week of recipes to a theme. This week, it’s French Bistro Week!!
Following Monday’s French Goat’s Cheese Salad starter, I present today’s Duck Confit as the scrumptious main. As for Friday? Lemon Tart – the perfect French dessert ending to this menu! We’ll round out the week with an incredible French dessert, of course!!
-

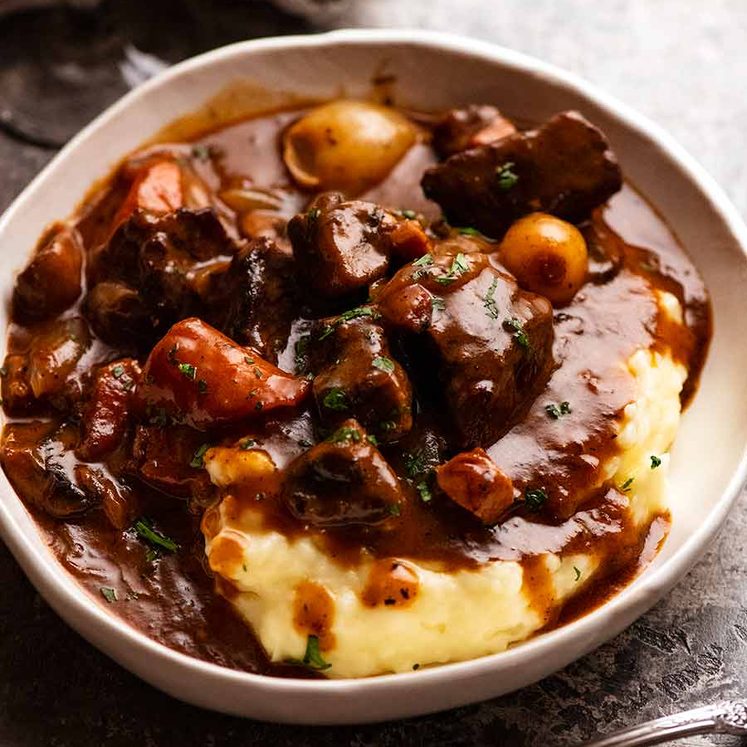
Goat’s Cheese Salad – French bistro starter -
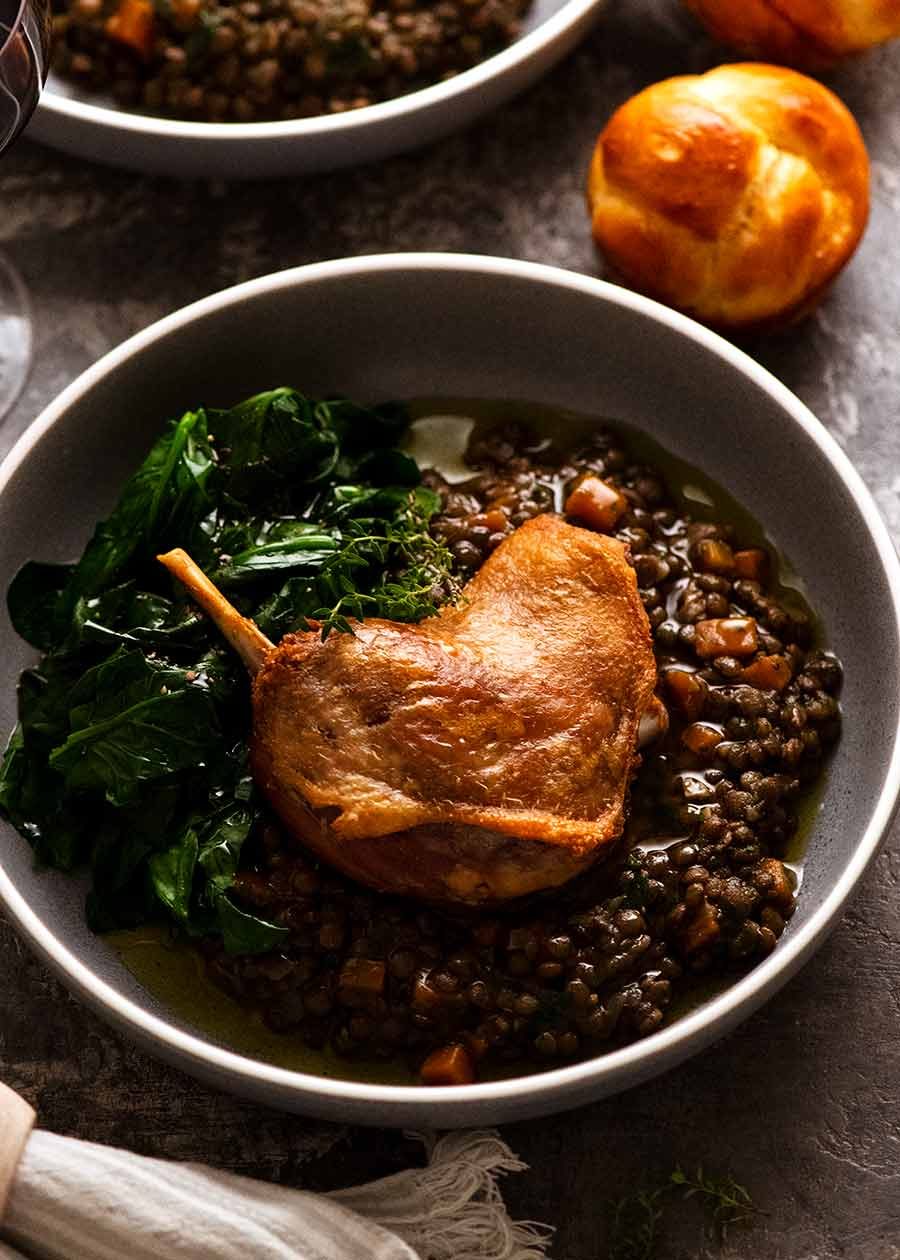
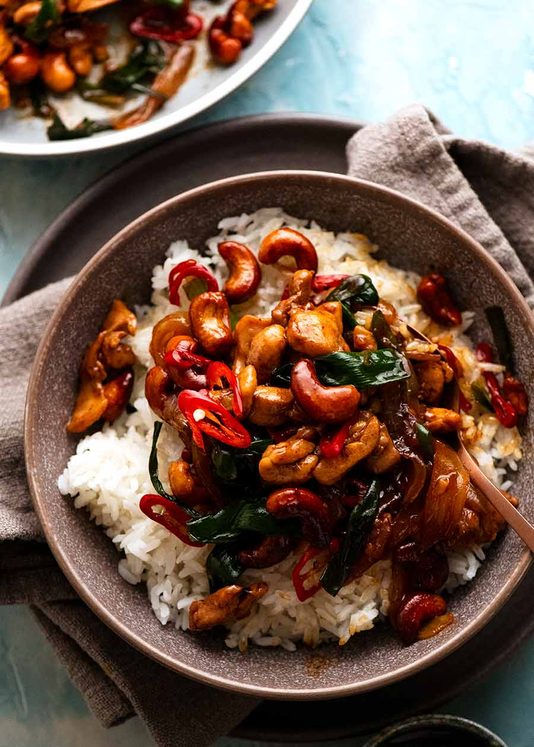
Today’s Duck Confit for the main with Lentil Ragout -

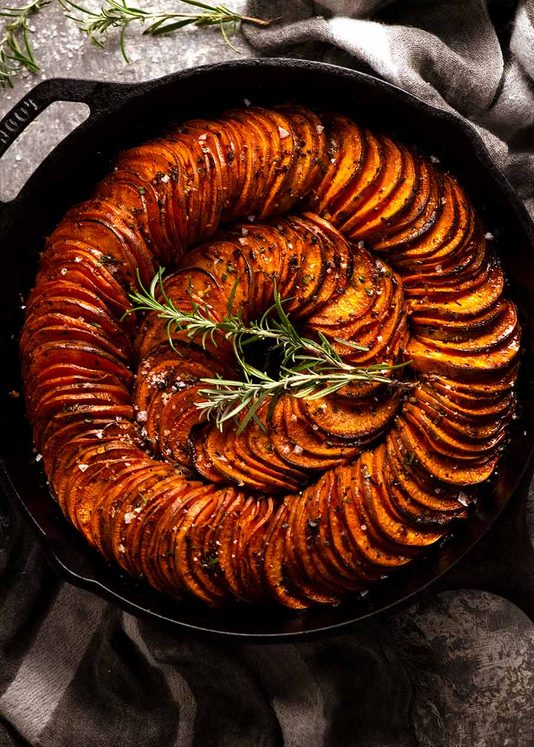
Lemon Tart for dessert
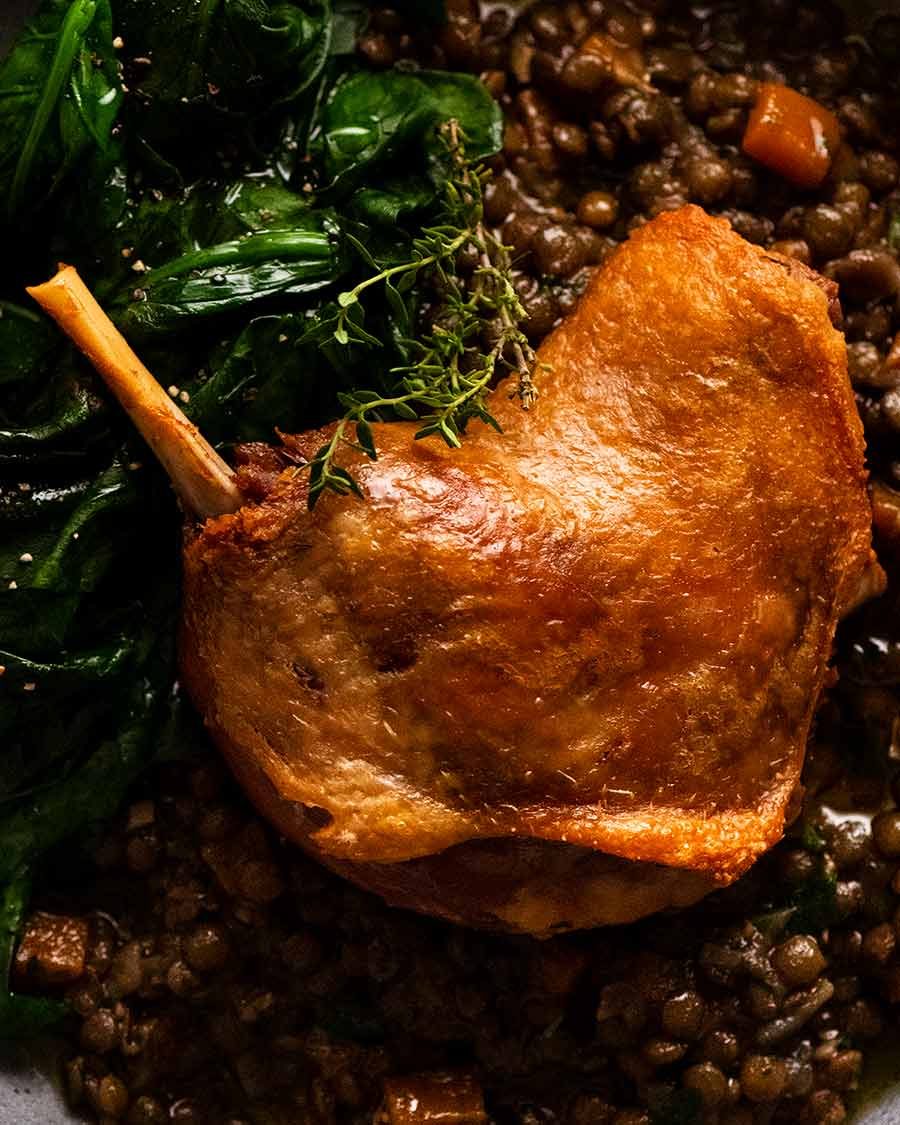
Duck Confit
Called Confit de Canard in French, Duck Confit is an elegant and classic French bistro dish. Confit (pronounced kon-FEE) here refers to the method of slow-cooking the duck in its fat, yielding gorgeously tender meat. The legs are then briefly sizzled in a hot pan or oven until the paper-thin skin is wonderfully crisp.
Confit traditionally was done for preservation purposes, allowing the duck to be stored for long periods. This still has benefits today because it means we can easily make Duck Confit ahead of time and keep it for use whenever the fancy takes us!
This recipe for Duck Confit comes to you by way of a stellar French chef I work with, Jean-Baptiste Alexandre. And for me it’s a game-changer. Why? For one, the method is incredibly simple. It’s more forgiving and less messy than even a roast chicken, and far less graft than, say, fried chicken!
But the real clincher is this: Unlike most Duck Confit recipes, this one DOESN’T require litres of duck fat! By arranging the legs snugly for cooking, you need far less fat than you think – at most a few cups – which can be re-used or stored for months.
Easy and delicious. Efficient and ideal for making ahead. Indulgent and classy. I’m running out of boxes to tick here! If you’ve always wanted to try your hand at Duck Confit, now is the time!

What Duck Confit tastes like
An initial overnight cure ensures our duck legs are seasoned with all the way through, the meat delicately perfumed with the herbs, spices and garlic.
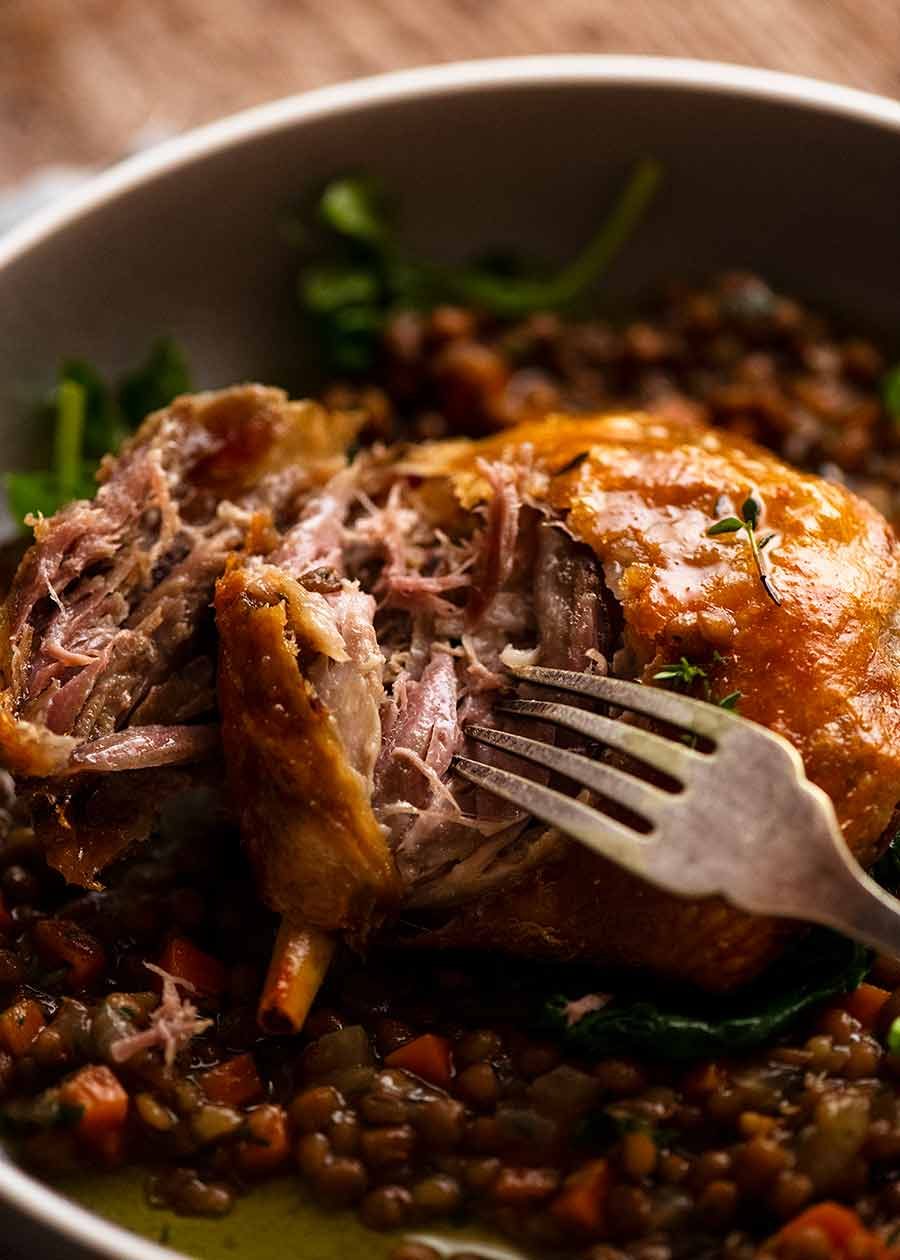
Next, slow-cooking the legs under duck fat softens the meat until it is tender, silky, and just melting in the mouth. Residual melted duck fat clinging to the meat reinforces the rich duck flavour, while setting things up for the last step.
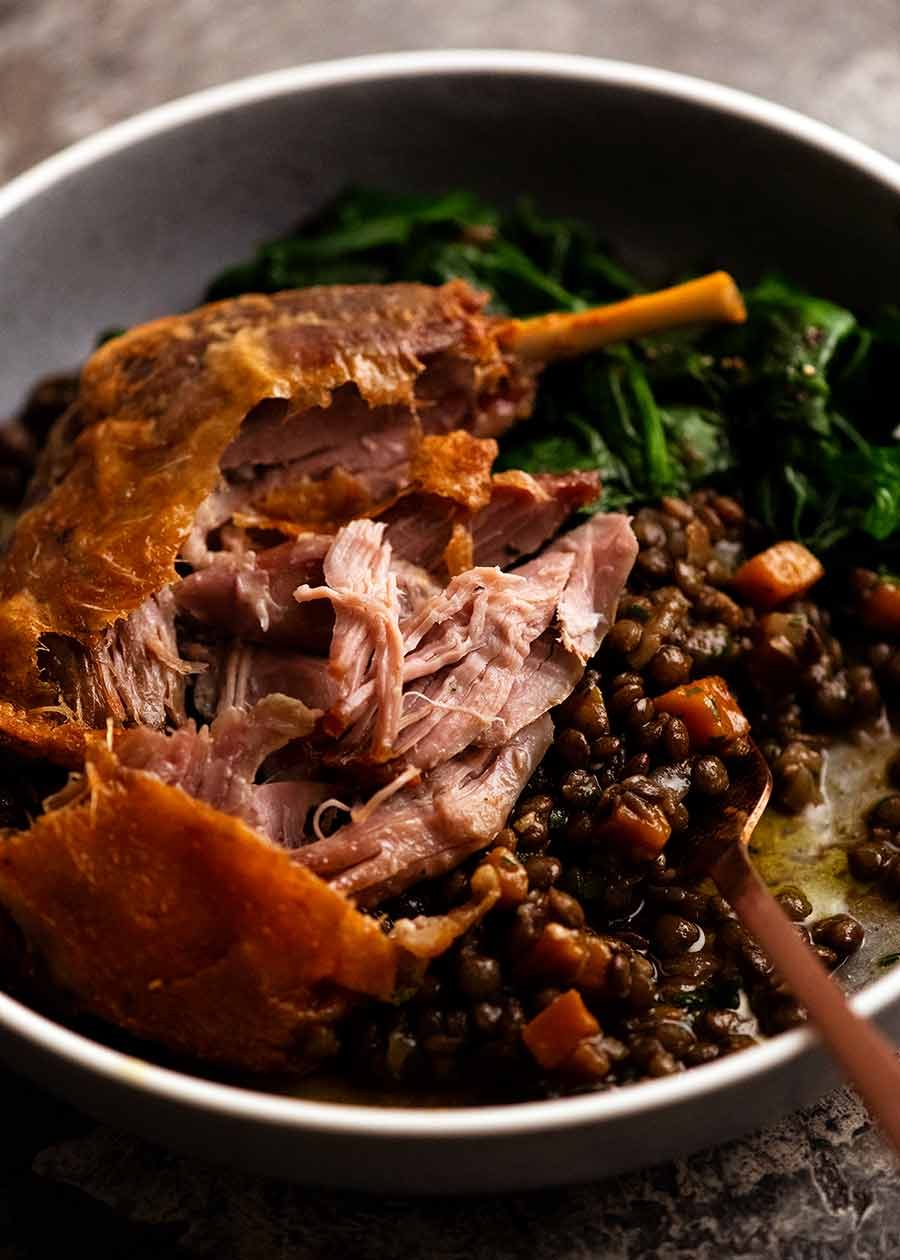
A final blast in the oven is all that’s needed for that excess cooking fat to sizzle and crisp up the skin. Result? Delicious, paper-thin duck skin that crackles as you cut through it with a knife into the dark, velvety flesh beneath … oh my!! 🤤
What does confit mean?
The word “confit” in French means “to preserve”. It can apply to different foods, including fruit and vegetables.
In the case of meat it refers to the technique of first curing then slow-cooking meat under fat at a low temperature. The meat can then be stored under the cooking fat for long periods, free from spoilage. It just so happens that this technique also yields impossibly tender, delicious and flavourful meat that gets better the longer it’s stored! Those clever French …
Historically, this preservation technique was a necessity to survive times of scarcity. Today, it means we can enjoy produce at its best (even when out of season) and have luxurious preserved foods at our disposal.
Duck Confit, originating from the south-western region of France, is one of the most classic and well-known confit foods.
Duck cut used for Duck Confit
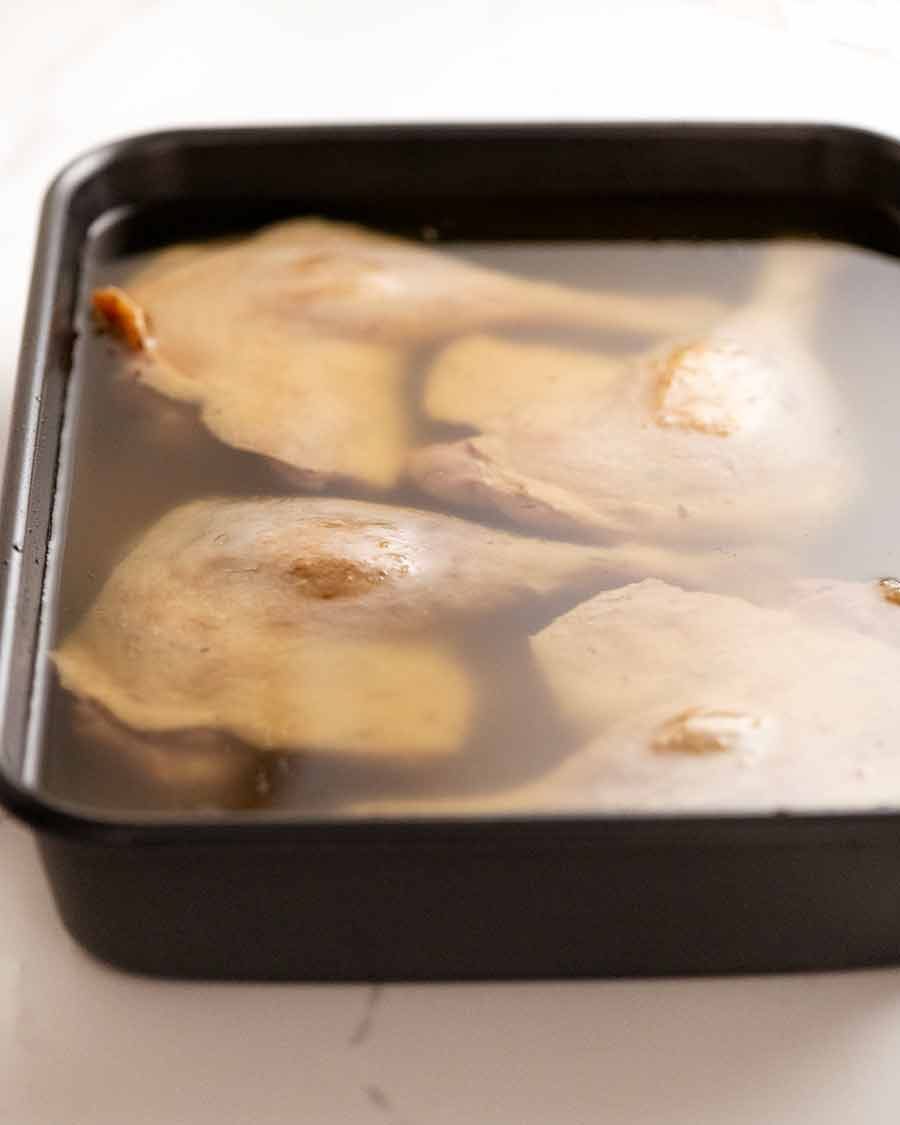
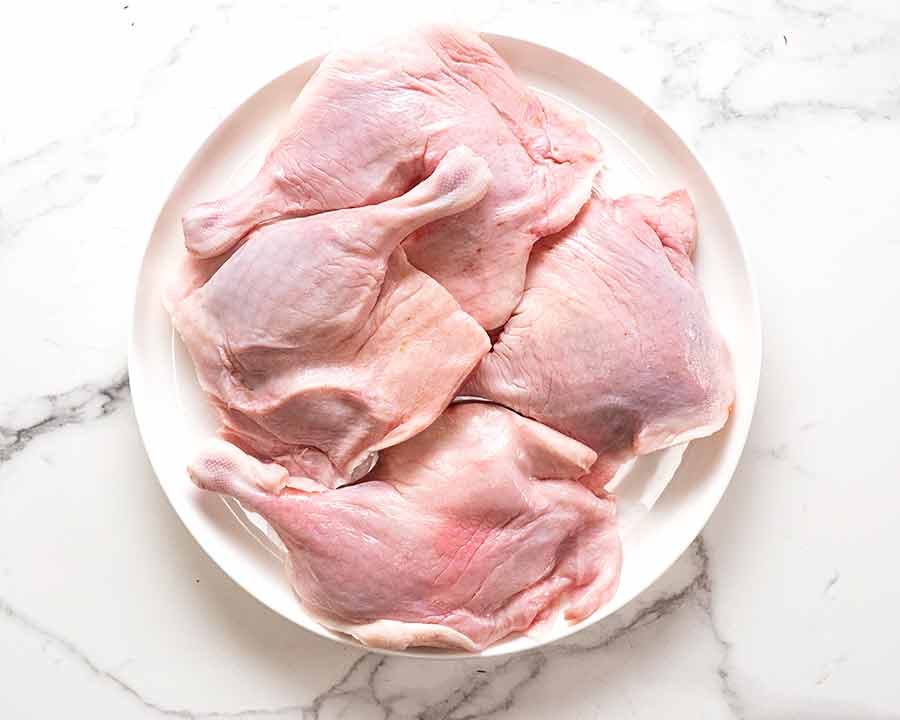
The cut of duck used for Duck Confit are duck legs. It is the lower leg plus the thigh attached, a poultry cut known as a maryland here in Australia.
It must be bone-in and with the skin on. Because it ain’t Duck Confit without crispy skin!
Duck fat to cook Duck Confit
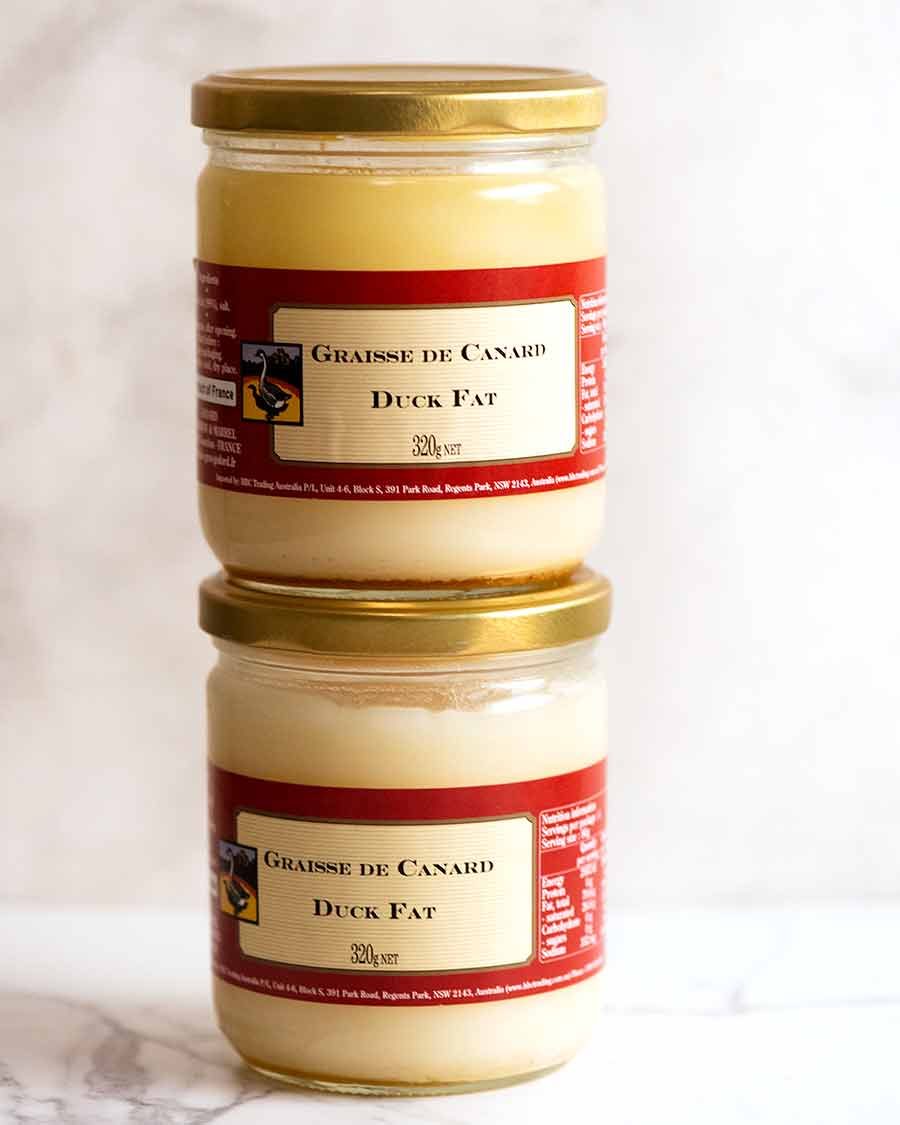
To confit meat means to slow cook in fat, usually the meat’s own fat. So for Duck Confit we use duck fat. These days, you’ll find duck fat sold in jars in the pantry aisle of grocery stores alongside other oils. While these products were considered very “gourmet” 10 years ago with hefty price tags to match, these days they are much better value and easier to find. The fat can be re-used multiple times and will keep sealed in the freezer for 6 months or longer.
Technically any fat or oil can be used to confit a meat. However in traditional French cuisine it’s most typical to use the same animal fat as from the meat you’re cooking. The reason is partly historical: if you’re a farmer who has just harvested a bunch of ducks and plan to preserve some, you’ll likely have plenty of duck fat lying around too. The other reason is the flavours are more naturally more harmonious.
Here’s one brand of duck fat that’s sold at grocery stores in Australia:
How much duck fat you need
You will need between 600 – 800g / 21 – 28 oz of duck fat. You need enough fat to cover the legs so they are fully submerged for slow roasting (see photos in post / video). So the exact amount you need depends on the size of the duck legs and your roasting pan.
We minimise the amount of duck fat required by using a small roasting pan that the duck fits in snugly. While you can count on some fat being released by the duck itself during the slow roasting time, it doesn’t actually raise the fat levels.
-
Pouring duck fat over duck legs for Duck Confit -
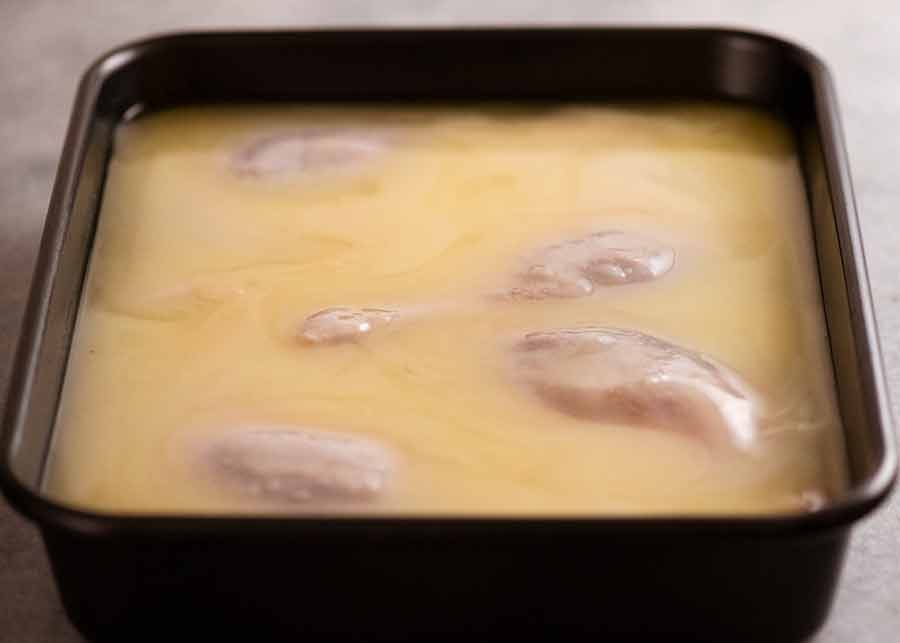
The duck legs need to be virtually completely submerged
Dry cure for Duck Confit
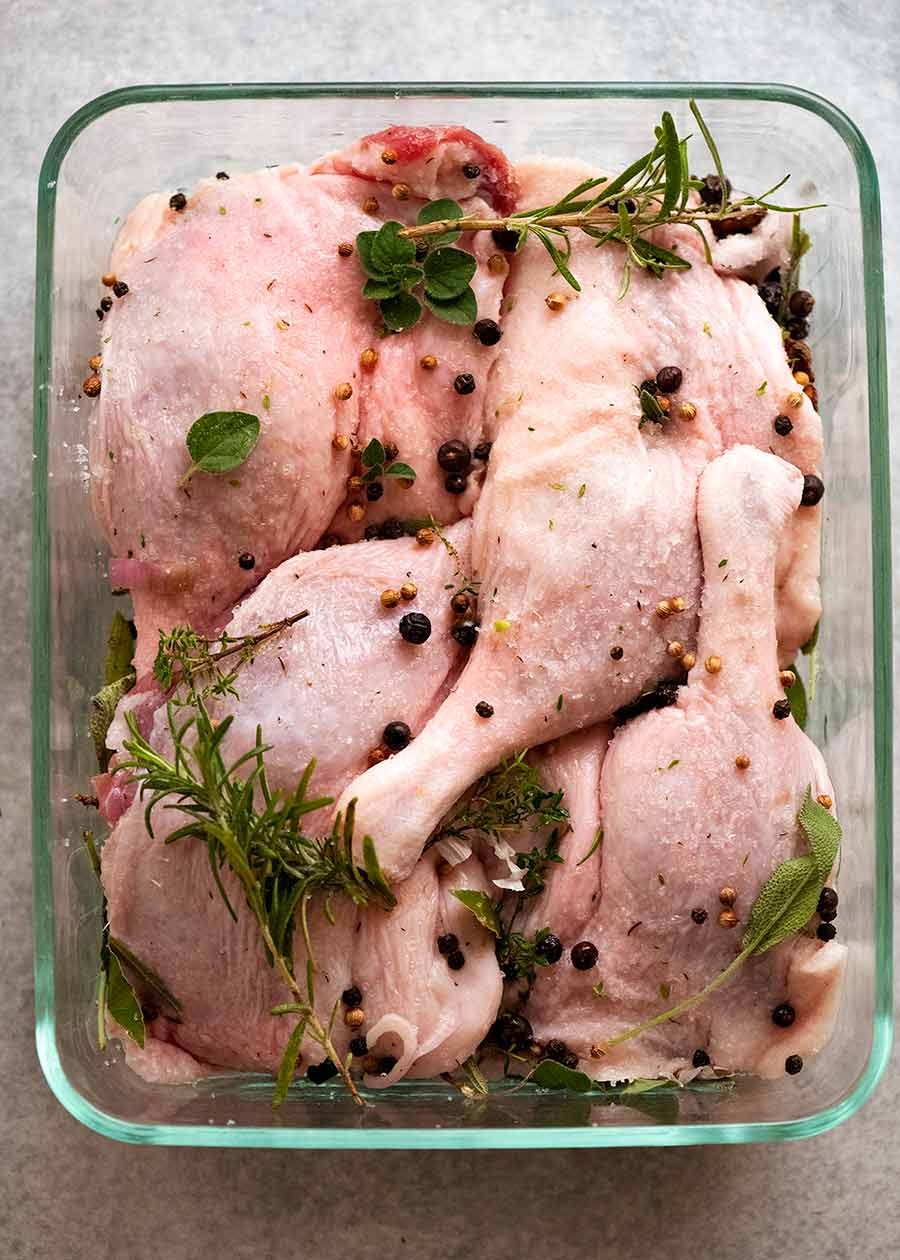
One of the key characteristics of Duck Confit is the incredible, subtle but complex perfume of herbs and spices that is infused all the way through the duck. We use a lot of the stuff. A lot!!
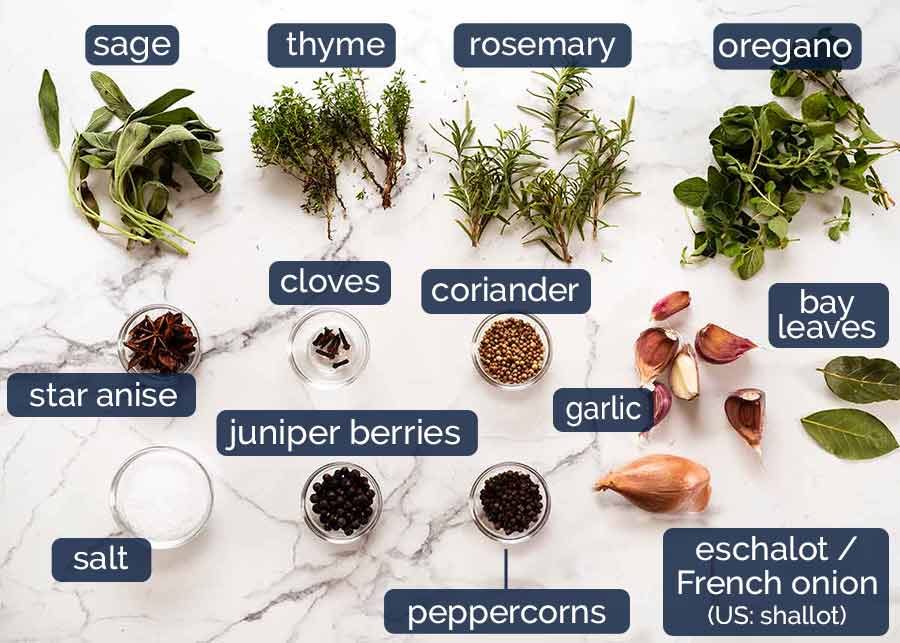
-
Fresh herbs – Thyme, sage, rosemary, oregano and bay leaves. Do not underestimate the power of these fresh herbs!
Dried herb substitute: If you are missing one of these herbs, use about 1 tsp of the dried herb equivalent. Try to avoid substituting more than one of the fresh herbs with dried because it’s not quite the same. However, in and emergency, yes I would use dried herbs for all and yes it will still be fabulous!
-
Garlic – Smash the garlic clove with the side of a knife to make the clove burst open but still mostly remain in one piece. This releases the flavour of the garlic to subtly infuse the duck with garlic whilst making it easy to pick out later;
-
Eschalots – Also known as French onions, these are called “shallots” in the US. They look like baby onions, but have purple-skinned flesh, are finer and sweeter. Not to be confused with what some people in Australia call “shallots” ie the long green onions; and
-
Spices – Whole black peppercorns, coriander seeds, star anise, juniper berries and cloves (whole).
How to make Duck Confit
Are you ready to be shocked how incredibly easy it is to make Duck Confit? Oui? Here we go!
Overview
Here’s an overview of the steps. I’m providing more visuals than usual because I suspect this is not an everyday recipe for most people. But I promise it’s straightforward!
-
Cure duck for 12 – 24 hours in a dry cure of salt, herbs and spices;
-
Submerge in duck fat, cook in oven for 8 hours at a very low temperature. We use a small pan to minimise the amount of duck fat required, and I usually slow cook overnight;
-
Crisp skin in a hot oven, using a rack set over a pan of boiling water to keep the flesh on the underside moist. This is a far more effective and easier method than the usual pan-frying or broiling/grilling called for in most recipes.
Part 1: Dry-cure duck
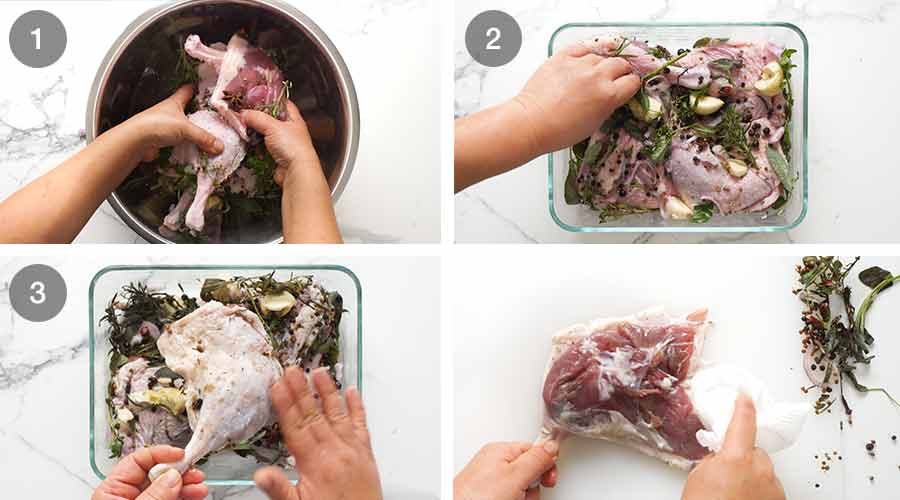
-
Coat duck with salt, herbs and spices: Place duck legs and all the curing ingredients in a large bowl and toss well with your hands.
-
Cure 12 -24 hrs: Transfer to a ceramic or glass dish large enough so the duck legs fit in a single layer but snugly, so they are cosied up with all those herbs and spices. Cover and refrigerate for 12 – 24 hours (no longer is necessary).
-
Rinse: Brush off the cure. Rinse duck under tap water to clean them, removing all salt and other bits. Pat dry with paper towels.
Part 2: Prepare for cooking
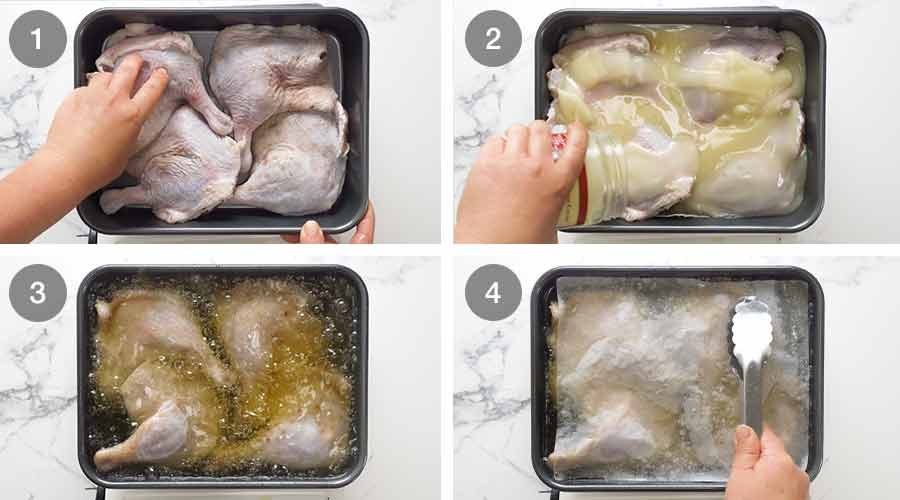
-
Place duck in a snug roasting pan: Place duck in a small metal roasting pan with high sides in which they fit snugly, touching each other, but in a single layer. The pan I use is 27cm x 21cm (10.5″ x 8″);
You need a pan with high sides so hot duck fat doesn’t slosh out when you handle it – hot fat and hands don’t mix! It’s best if it’s a metal roasting pan so you can put it straight on the stove to kickstart the fat heating step (step 3 below);
-
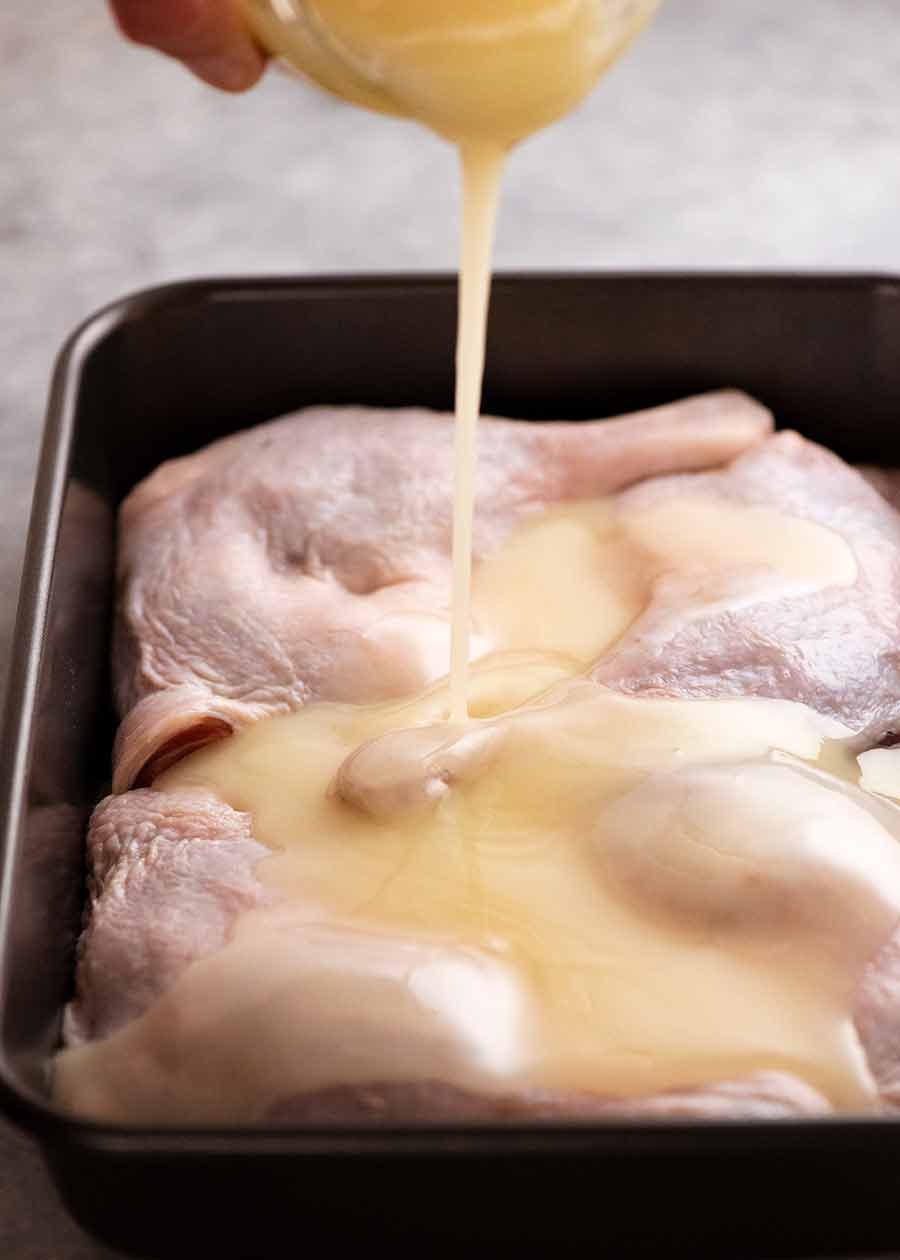
Cover with duck fat: Pour fat over duck legs. You need enough so they are virtually fully submerged. A little bit of the skin or bone above the surface is fine because the duck will shrink under as it cooks. The main aim here is to ensure the flesh is fully submerged;
-
Heat fat: Place the pan directly on the stove over medium-high heat until the fat is bubbling energetically across the whole surface (ie not just around the edges);
-
Cover with paper: Turn the stove off. Cover the duck with baking/parchment paper cut to size so it sits flat on the oil surface. Press it gently down to remove air bubbles.
This paper lid is a cooking technique similar to a cartouche which is used to trap heat and keep foods submerged during braising or confit like this.
Cover the pan tightly with a double layer of foil. Now you’re ready for slow roasting!
Part 3: Slow-cooking (confit)
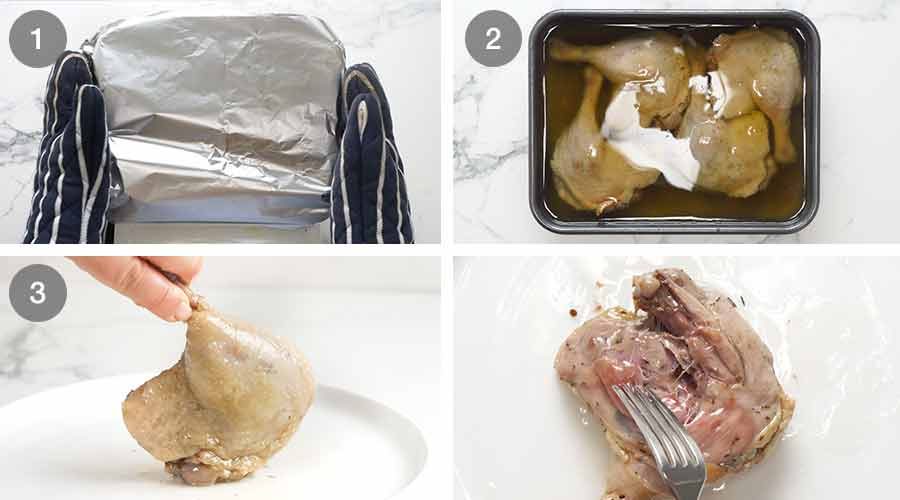
-
Slow-cook: Carefully transfer to the oven. (Be very careful! Hot duck fat is dangerous!) Slow-cook for 8 hours at 100°C / 210°F (80°C fan). I typically do this overnight. In an oven this low, I feel perfectly safe snoozing away!
-
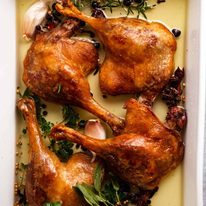
Remove from oven: This is what it looks like when it comes out of the oven. It will look totally unimpressive with pale and flabby skin. But just wait! The best is yet to come!
-
Check flesh is cooked: By this stage, the duck flesh should be ultra-tender and “fall apart at a touch” but still attached to the bone. There’s two ways to check:
Method 1 – Turn the leg over to check the exposed flesh side. Use a fork to check if the flesh flakes easily (it’s tempting to remove a chunk and pop it in your mouth, I know – resist!);
Method 2 – Bend the duck leg gently on a plate. It should bend easily when pressure is applied on the joint (see video).
Meat done, at this stage the duck can either be crisped up in the oven to serve straight away, or stored in the fridge / freezer still submerged in fat. Therein lies the beauty of Duck Confit – you can have this amazing dish sitting around ready to impress the pants off some lucky person at the drop of a hat!
Part 4: Long term storage (optional)
Here’s how to store the duck in the fridge (5 days) or freezer (3 months or more) if you are planning to keep it to serve at a later date.
Those of you familiar with Duck Confit might be thinking, “But isn’t the whole point of confit that you can keep the meat sealed under fat just the fridge for weeks or even months, and it will be good to eat?” The answer is yes, traditionally Duck Confit would be stored long-term in just a cool place. In 99.99% of cases it will keep perfectly like this. If you’re comfortable doing this, you can. However out of an (over) abundance of caution I recommend keeping in the fridge no longer than regular food, and freezer for any duration past this.
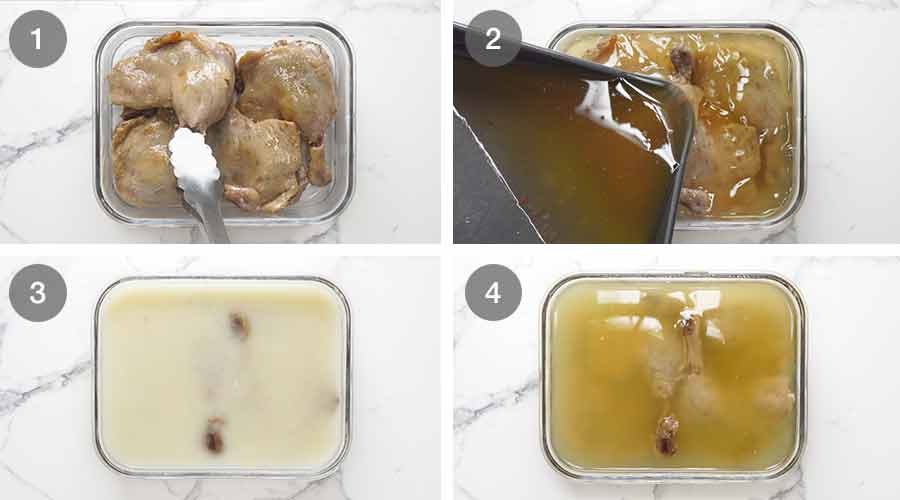
-
Cover with duck fat: While the duck is still warm, remove from the roasting pan into a non-reactive container in which they fit snugly. They can be stacked or in a single layer, just as long as the duck fat covers the duck completely. Do this while the duck is still warm as they are pliable so you can arrange them in the most space-efficient manner.
-
Strain duck fat: Strain the duck fat into a jug, then leave it for a bit to let the duck juices settle at the bottom. Then pour the duck fat over the duck legs, leaving behind most of the duck juice;
-
Cover and freeze: Once fully cool, cover with a lid and place in fridge (5 days) or freezer (3 months). The fat will solidify and turn white. If you are comfortable, you can keep just in the fridge for at least several months, as is traditional!;
-
To cook: If the duck was frozen, thaw it overnight in the fridge. Then heat duck gently in the microwave to melt the fat so the duck can be removed. Proceed with the recipe to crisp up the skin and reheat the duck.
Part 5: Crisping skin and finishing the Duck Confit
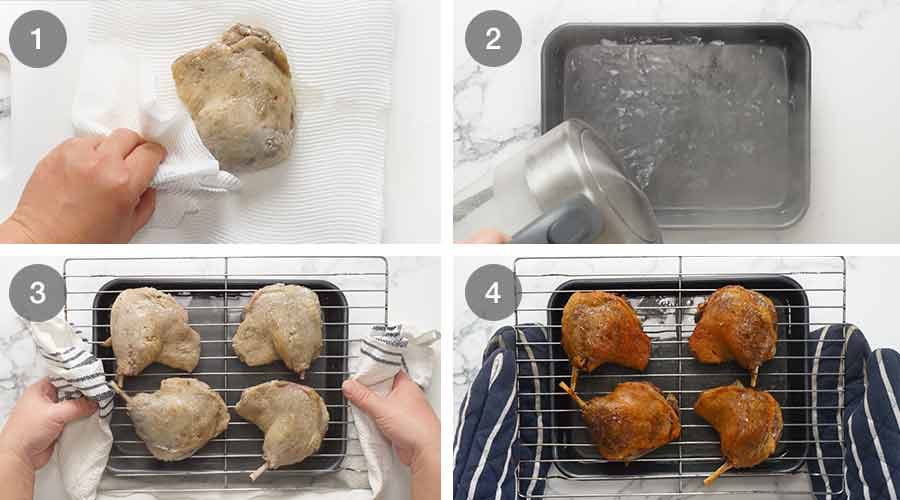
-
Prepare for roasting: Remove duck from fat, allowing excess to drip off. Dab excess fat off with paper towels;
-
Skin crisping: Pour 2.5cm / 1″ boiling water water into a roasting pan, then set a rack over the pan. Place the duck on the rack, skin side up.
The water keeps the flesh of the duck ultra moist whilst allowing the skin to crisp up beautifully. This method of crisping up the skin works far better than the stove-searing methods that other recipes use. It gives the most even colour and, more importantly, crispy skin all over! In contrast, although faster, pan searing will only crisp the skin where the skin is in contact with the pan;
-
Crisp skin: Roast duck for 40 minutes in a hot oven (240°C / 465°F (220°C fan)) until the skin is a deep golden colour and crispy. Rotate the pan as needed to make the colour even all over. You won’t have problems with smoke because the fat will drip down into the water; and
-
Serve straight away while the skin is at it’s crispiest best! There is no need to rest duck because the meat is already cooked. In fact, the skin loses crispiness if it’s sitting around.

Crispy skin…..
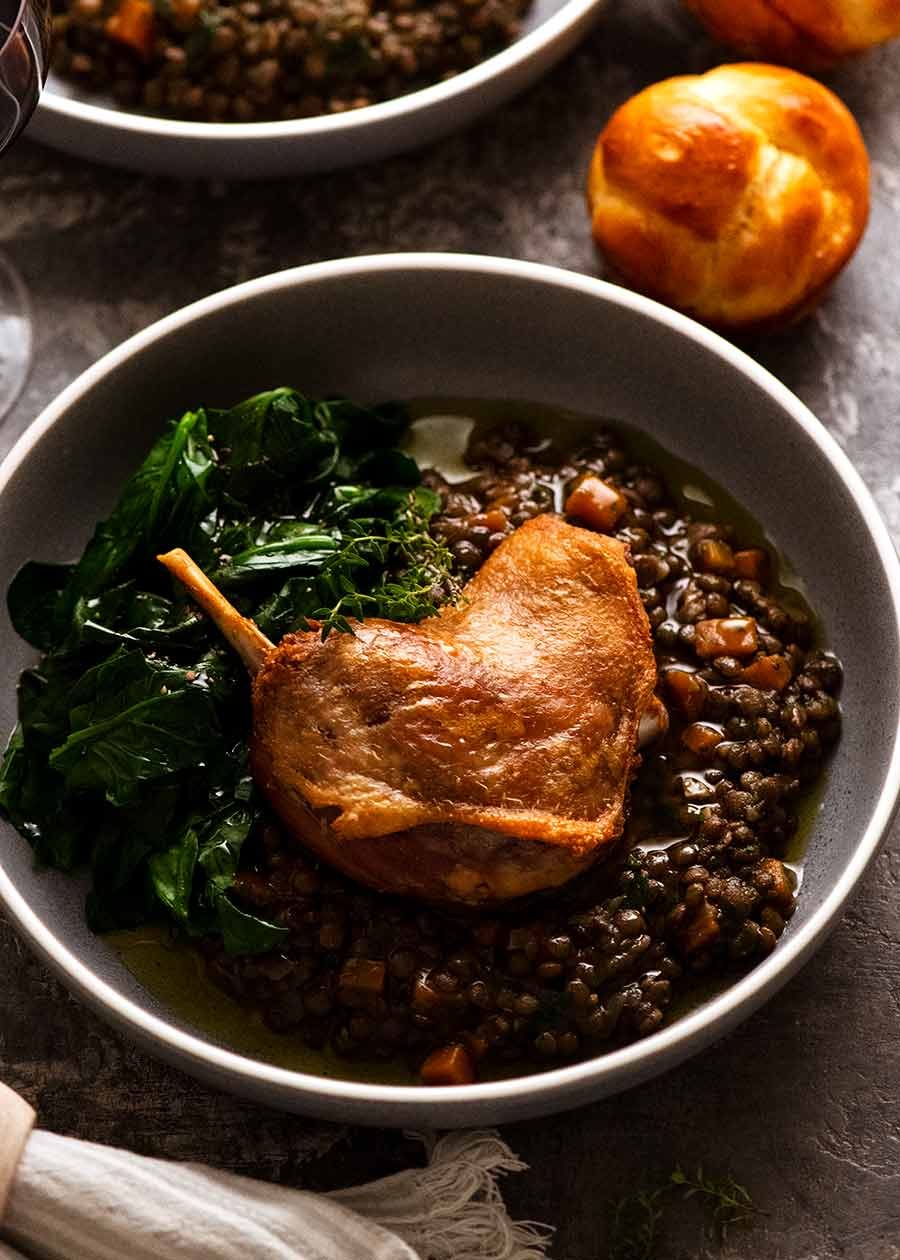
… and tender, flavour-infused flesh. It’s that magical combination hits my carnivore sweet spot every single time! 😉

How to serve Duck Confit
The most traditional way Duck Confit is served in France is on a bed of lentils. The earthy lentils are a perfect match for the rich and gamey duck. This is a French Lentil Ragout – yes that’s right, I said a ragout! It’s mouthwateringly good, and a worthy serving companion to Duck Confit.
Add a bowl of leafy greens tossed lightly with a French Dressing, and voila! You’ll feel just like you’re in a cosy bistro or a bustling brasserie tucked in the back streets of Paris! – Nagi x
PS. Dessert is coming on Friday. 😇
Watch how to make it
Hungry for more? Subscribe to my newsletter and follow along on Facebook, Pinterest and Instagram for all of the latest updates.
Duck Confit – French slow roasted duck legs
#wprm-recipe-rating-0 .wprm-rating-star.wprm-rating-star-full svg * { fill: #343434; }#wprm-recipe-rating-0 .wprm-rating-star.wprm-rating-star-33 svg * { fill: url(#wprm-recipe-rating-0-33); }#wprm-recipe-rating-0 .wprm-rating-star.wprm-rating-star-50 svg * { fill: url(#wprm-recipe-rating-0-50); }#wprm-recipe-rating-0 .wprm-rating-star.wprm-rating-star-66 svg * { fill: url(#wprm-recipe-rating-0-66); }linearGradient#wprm-recipe-rating-0-33 stop { stop-color: #343434; }linearGradient#wprm-recipe-rating-0-50 stop { stop-color: #343434; }linearGradient#wprm-recipe-rating-0-66 stop { stop-color: #343434; }
Ingredients
Duck:
- 4x 250g / 8oz duck legs, skin on, bone in (aka maryland); (Note 1)
- 750 ml / 25 ozduck fat(Note 2)
Dry cure (Note 3):
- 4tspcooking/kosher salt(Note 4)
- 1/3cupthyme sprigs, lightly packed
- 1/3cupsage sprigs, lightly packed
- 1/3cuprosemary sprigs, lightly packed
- 1/3cuporegano sprigs, lightly packed
- 6clovesgarlic, smashed with skin on
- 1eschalot(US: shallot), peeled and sliced 0.7cm (1/3″) thick
- 1tbspblack peppercorns
- 1tbspcoriander seeds
- 8star anise
- 2bay leaves
- 2tbspjuniper berries
- 8cloves
Instructions
Cure duck:
-
Coat duck with dry cure: Place duck legs and all the Dry Cure ingredients in a large bowl. Toss well with your hands.
-
Cure 12 – 24 hrs: Transfer to a ceramic or glass dish large enough so the duck fits in a single layer but snugly. Cover and refrigerate for 12 – 24 hours (no longer is necessary).
-
Rinse: Brush off cure and rinse duck under tap water to clean them (remove all salt and black bits). Pat dry with paper towels.
Slow cooking (confit):
-
Preheat oven to 100°C/210°F (80°C fan) with a shelf positioned in the middle of the oven.
-
Roasting pan: Place duck in a small metal roasting pan with high sides. They should fit snugly, touching each other, but in a single layer. (Note 5)
-
Cover with duck fat: Pour fat over duck. It should pretty much cover the legs. (Note 6)
-
Heat fat in pan: Place pan on the stove over medium-high heat. Heat fat until bubbling energetically all across the surface (ie not just around the edges).
-
Cover with paper: Turn off stove. Cover surface with baking / parchment paper, cut to size so it sits on the surface of the fat over the duck. Gently push down to remove air bubbles. Cover pan tightly with a double layer of foil.
-
Slow cook: Carefully transfer to the oven. Cook for 8 hours.
-
Check flesh: Remove one duck leg (gently). Turn over to check the flesh side – meat should be fall-apart tender. Leg should also give easily when pressure is applied to the joint (see video).
Storing cooked Duck Confit (optional):
-
Duck can be stored submerged in fat at this stage. The meat juice should be strained off first.
-
Remove duck to a non-reactive container in which they fit snugly. (Note 7) Pour over cooled duck fat, leaving juice sediment behind. Ensure it fully covers the duck (push duck under while warm and pliable as needed, using tongs).
-
Once fully cool, cover with lid and place in fridge (5 days) or freezer (3 months). Fat will solidify.
-
To cook, heat duck gently in a container in microwave to melt the fat. Proceed with recipe.
Crisping skin and finishing Duck:
-
Preheat oven to 240°C/465°F (220°C fan). Place a rack over a deep roasting pan.
-
Remove duck from fat: Remove duck from fat, allowing excess oil to drip off. Pat excess oil off with paper towels.
-
Prepare for roasting: Pour 2.5cm / 1″ of boiling water water into the roasting pan (steam keeps flesh moist). Place duck on rack, skin side up.
-
Crisp skin: Roast duck for 40 minutes until the skin is a deep golden and crispy. Rotate pan as needed for even colour. (You won’t have problems with fat smoking as it drips into the water)
-
Serve: Rest briefly to cool, and serve! A classic French side dish for Duck Confit is Lentil Ragout. (pictured in post)
Recipe Notes:
- Fresh herbs measurement – Use sprigs and lightly pack them into cup measures. Use ingredient photos in post and the recipe video for visual guide, or weights provided in recipe.
- Smashed garlic – Place side of large knife on garlic then use the heel of your hand to bash the side of the knife once, making the garlic burst open but mostly hold together.
- Eschalots –Also known as French onions, and called “shallots” in the US. They look like baby onions, but have purple-skinned flesh, are finer and sweeter. Not to be confused with what some people in Australia call “shallots” ie the long green onions.
4. Salt – Measurements are for cooking/kosher salt which have larger grains than table salt. If you only have table salt, reduce by 1/4 (otherwise it will be too salty).5. Pan for slow roasting – The key here is size, mine is 27cm x 21cm (10.5″ x 8″). Raw duck should fit in a single layer but snugly, touching, to reduce the amount of fat required to cover it. The duck will shrink as it cooks so snug is fine.Metal pans are best so you can do the initial heat of the oil with the duck in it on the stove. But if you only have ceramic or glass, pour the duck fat into a saucepan and bring to a boil. Warm the ceramic / glass baking dish by running under hot water, then dry (shock of boiling hot oil in fridge cold glass can make some shatter!) Put duck in per recipe, then pour fat over the duck and place in oven.6. Duck fat coverage for cooking – Fat should virtually cover the legs (see photos in post / video). While some fat will be released by the duck itself during the slow roasting time, it doesn’t raise the fat levels. If the highest point of the flesh or the bone ends are poking out a bit, that’s ok.7. Cooked duck storage – Fully submerged in fat, will keep for 5 days in the fridge or 3 months in the freezer.Container can be glass, ceramic or plastic, but key is the size such that the duck fits snugly (stacked or single layer) so they are fully submerged in fat (key for food safety for fridge to ensure it remains preserved).Traditionally, the duck would be stored for prolonged periods just in a cool place. 99.99% of cases, you can store the duck in your fridge for several months without spoilage. To be cautious, I recommend only 5 days in the fridge else freeze. But if you’re comfortable with storing it the traditional way, feel free.8. What to do with used duck fat – Store in an airtight container or jar in the fridge for 6 months or freezer for longer, as long as the fat is clean.Reusing the fat: Duck fat can be reused around 3 times for Duck Confit before it gets too salty (just taste before use). To check if it’s still OK, smell it. If it smells rancid or smelly, discard. If too salty for Duck Confit, use it for Duck Fat Potatoes!98% of the duck fat after roasting will be clean, pure fat. But there will be some duck juices which will decrease the shelf life of the fat. To remove this, pour the cooled fat into a jug using a fine mesh strainer. The duck juice will settle at the bottom (fat is clear pale gold, juice is brownish). Then pour the fat off, leaving behind the duck juice.
Alternatively, strain the fat into a jug and let it solidify in the fridge. Then scrape the fat off, leaving behind the juice (which will firm into a jelly). You’ll need to reheat the fat to pour into a container.9. Source – This recipe was created in collaboration with Jean-Baptiste Alexandre, a French chef residing in Sydney who works with me on some of the more iconic recipes of the world. If there’s anyone who will know Duck Confit, if it’s a French chef!
Nutrition Information:
More fancy French food!
Life of Dozer
Moving into a temporary rental while my house is undergoing renovations!! It’s a short term furnished rental luckily, so I just had to move personals in….and all my kitchen gear, of course!
This is pretty much what Dozer spent the whole moving day doing. (ie Bugger all)
