A lamb leg is classic. A 3-hour shoulder is excellent. But for the most succulent roast lamb of your life, slow-roast it for 12 hours in the oven overnight. Cooked at a very low temperature with plenty of braising liquid, you can set-and-forget without a worry. This entirely hands-off, easy cooking method yields superior results with the bonus that it reheats 100% perfectly and you can cook up to 4 shoulders at once.
This is a reader-favourite recipe included by popular demand in my debut cookbook “Dinner”!
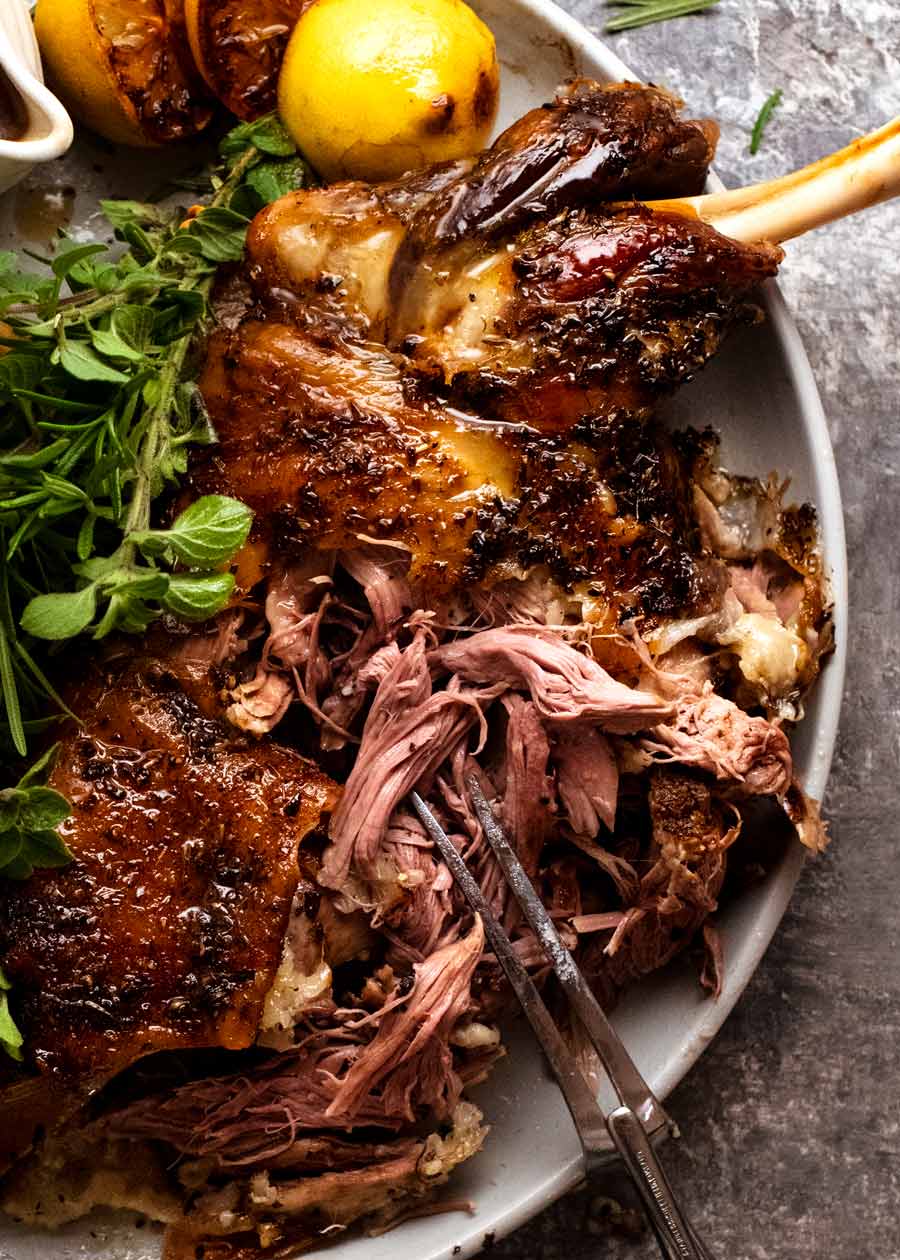
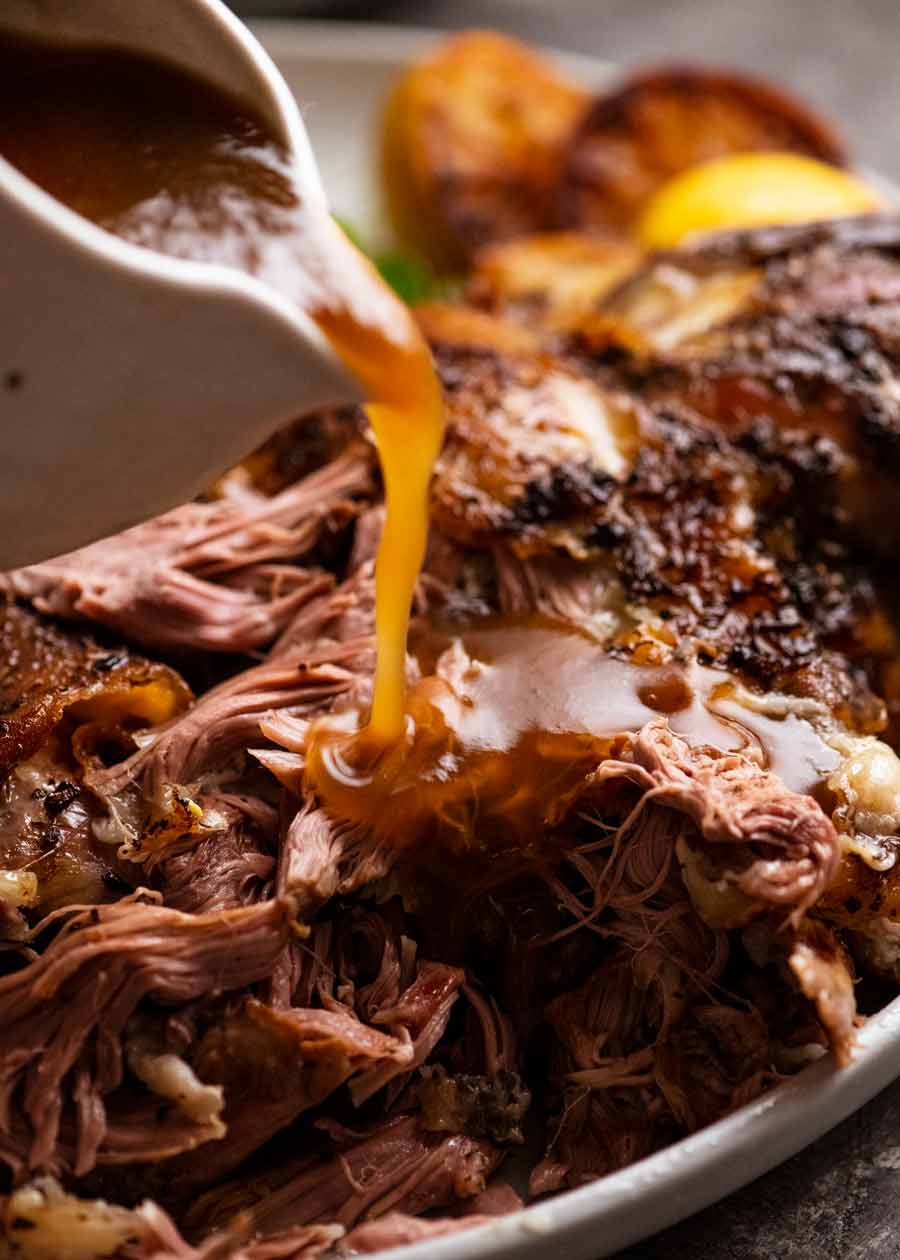
What’s so amazing about a 12 hour lamb, anyway?
There are many devoted fans of this super 3-Hour Slow Roasted Lamb Shoulder, stuffed with garlic and rosemary. And there will always be a place in my life for a 3-hour lamb, something speedy you can pop in the oven on a lazy Sunday afternoon for supper that night.
So why should you give the 12-hour lamb a go? Because it’s even better. 🤷🏻♀️ See, it’s a bit like flying. Think of 3-hour lamb like business class. It’s pretty awesome and nobody on the receiving end is going to complain. But 12-hour lamb is the next rung, the top shelf – it’s first class. And once you’ve flown first class, it’s hard to look at anything else the same way again!
Here’s what makes 12-hour lamb that much more special:
-
Lower temp = more succulent meat – Tough cuts like lamb shoulder need slow-cooking to tenderise them. The lower the roasting temperature, the less total moisture evaporation and thus juicier meat. 3-hour lamb is cooked at 180°C/350°F, while the 12 hour lamb is cooked at only 100°C/212°F.
-
Better flavour – Not only is the flesh juicier but the slow braising-roasting method here means you get the best of both worlds: flavour infused into the flesh from the surface rub and lamb juices which mingles with the braising liquid, and surface browning you can only get with roasting.
-
Hands-off overnight cooking – Covered, with plenty of braising liquid to keep it moist, our first class lamb cooks overnight on autopilot. No basting, no removing covering to brown, no tray rotations – it completely takes care of itself. Wake up the next day and be greeted with roasted meat perfection!
-
Easy to scale up – Make 2 at the same time in one pan, or 4 across 2 pans!
-
Reheats 100% perfectly – Unlike many other roasts, this 12-hour slow-roasted lamb shoulder reheats 100% perfectly, which makes it an excellent make-ahead centrepiece for large gatherings.
-
It creates its own jus (fancy word but it’s dead easy) – It’s just the braising liquid, simmered to concentrate and thickened slightly with cornflour/cornstarch. After 12-hours with the lamb, this is flavour-packed liquid gold!
-
A ludicrous effort-to-reward ratio – I am a VERY big fan of recipes where you reap high rewards for a small outlay of effort!
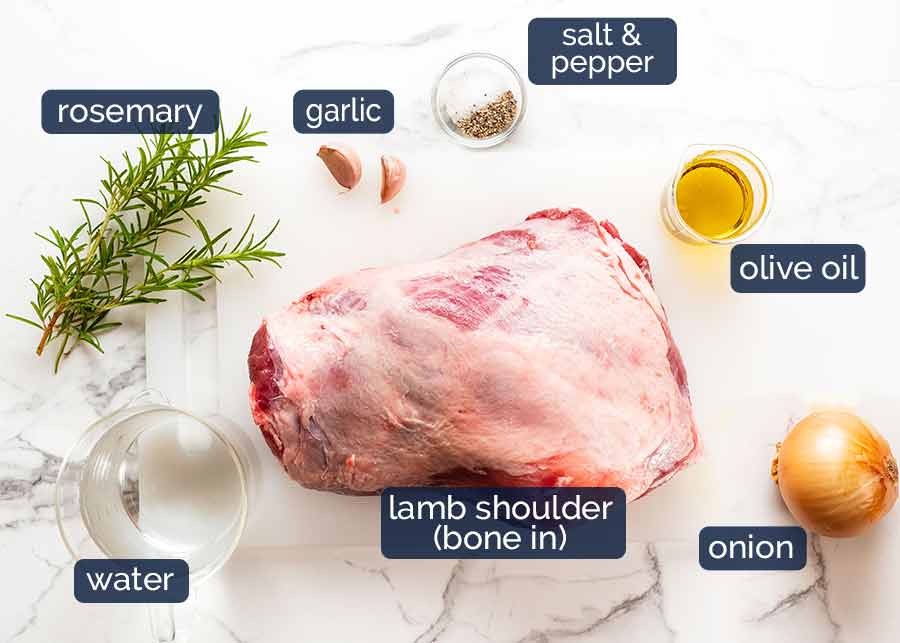
What you need to make 12-hour slow-roasted lamb shoulder
I’ve gone for classic flavours here that lamb loves – rosemary and garlic. Simple is all we need when we’re doing slow-roasting! (Note: Dried oregano missing from photo, oops!)
-
Lamb shoulder – The more economical yet superior brother to lamb leg (in my humble opinion). It’s richer, it’s got more flavour, it’s juicer, and it’s far more forgiving to cook than lamb leg. Leg either needs to be roasted to blushing pink perfection or slow-roasted to fall-apart tenderness (but because it’s leaner there’s less margin for error with the cook time).
Shoulders are widely available these days in Australia, even at large grocery stores (Coles, Woolies etc). They are typically around 1.3 – 1.6kg (young lambs with more tender flesh) but sometimes you will find them as large as 2kg+ which are still terrific, but the flesh is a wee bit less tender (because they are older animals).
-
Garlic, oregano (missing from photo, oops!) and rosemary – Timeless companions to lamb!
-
Onion – To keep the lamb slightly elevated off the base (instead of using a rack) and also to flavour the sauce (lamb jus) which we make using the braising liquid.
-
Olive oil – For rubbing the lamb so the salt, pepper, garlic and rosemary stick.
-
Water – Plenty here, and there’s a few reasons for this. Firstly, for moisture retention in the flesh during the slow-roasting period. Secondly, it promotes more even cooking of the flesh because partially braising in a liquid distributes heat more effectively than the convective heat of oven air (ie. just dry roasting). Thirdly, to prevent the pan drying out which would result in the pan base residues burning. And lastly, the water becomes heavily flavoured with lamb juices, which we then reduce to make the sauce. There’s absolutely no need to use stock!
How to make 12-hour lamb shoulder
Hint: There’s a lot of sleeping on the job involved. We need more recipes like this!! 😂
-
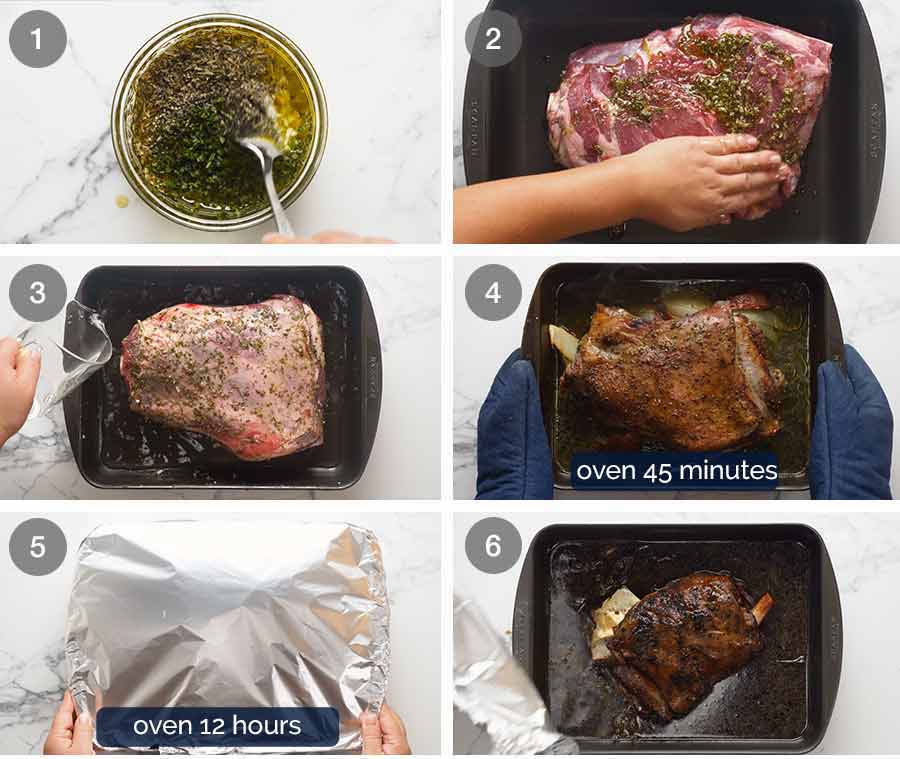
Marinade / rub – Mix the rosemary, garlic, salt and pepper with the olive oil.
-
Slather then optional marinade – Slather the rub all over the lamb shoulder, being sure to get right into all those cracks and crevices! I just do this straight in the roasting pan – why bother dirtying a cutting board??
Then if time permits, leave the lamb to marinate for 2 hours on the counter in the roasting pan, or up to 24 hours in the fridge.
Marinating is an optional step. Why? Because the long and slow cook time means the lamb is essentially marinating as it cooks, in my opinion. But I’m sure people with a more refined palate than me can probably taste the difference between marinating, and not. I can’t. So I usually skip the marinating time.
-
Water – Pop the onion wedges under the lamb (I promise they are hidden under the lamb shown above!) then pour the water into the pan.
-
Brown 45 minutes – Pop the lamb in the oven for 45 minutes, uncovered. This is to give the browning a head start. It will brown further when covered in foil, but this just ensures our finished produce is really nicely browned. It’s easier and better to do this first than at the end when it’s already cooked.
-
12 hours in oven – Cover lamb with baking paper then two layers of foil, sealed tightly (or better yet, a heavy roasting pan lid) to prevent evaporating moisture leakage. We want all of it to stay locked in! Then place in the oven for 12 hours at 100°C/212°F. Now go to bed and sleep well, relaxed by the knowledge that your lamb will turn out beautifully tomorrow.
-
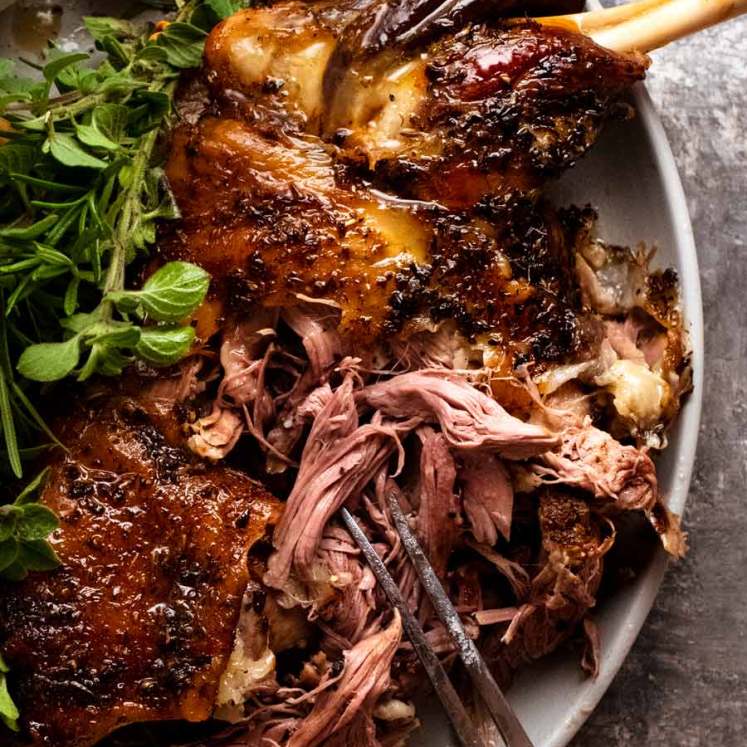
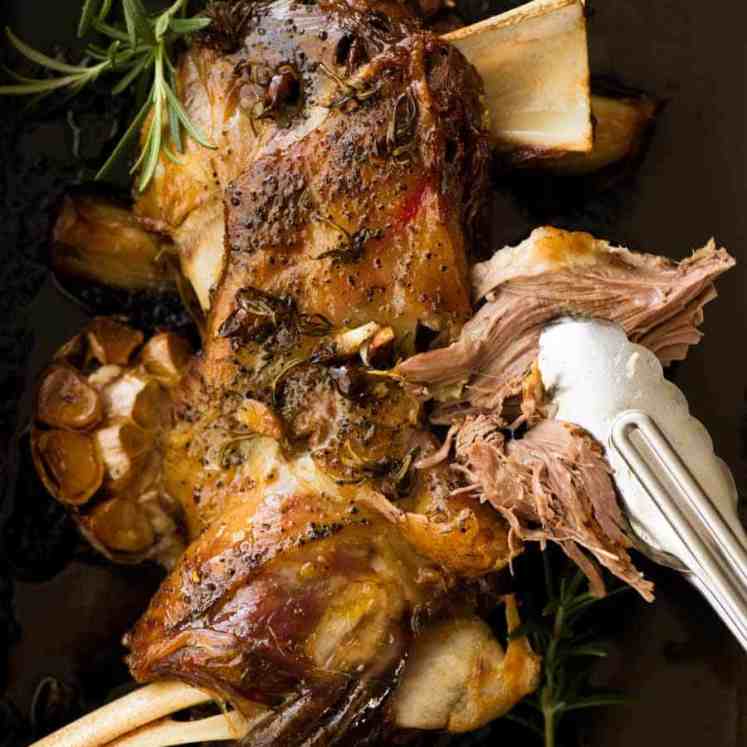
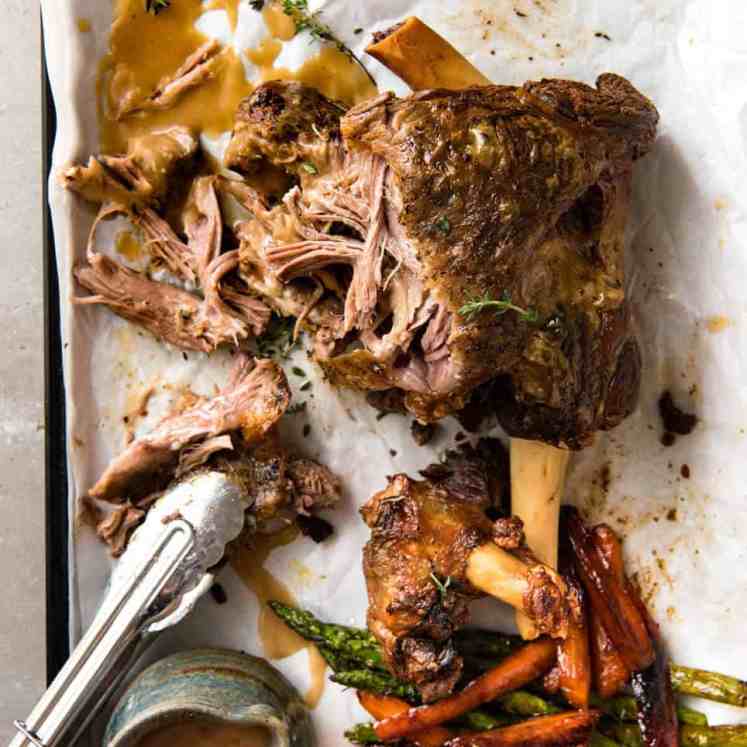
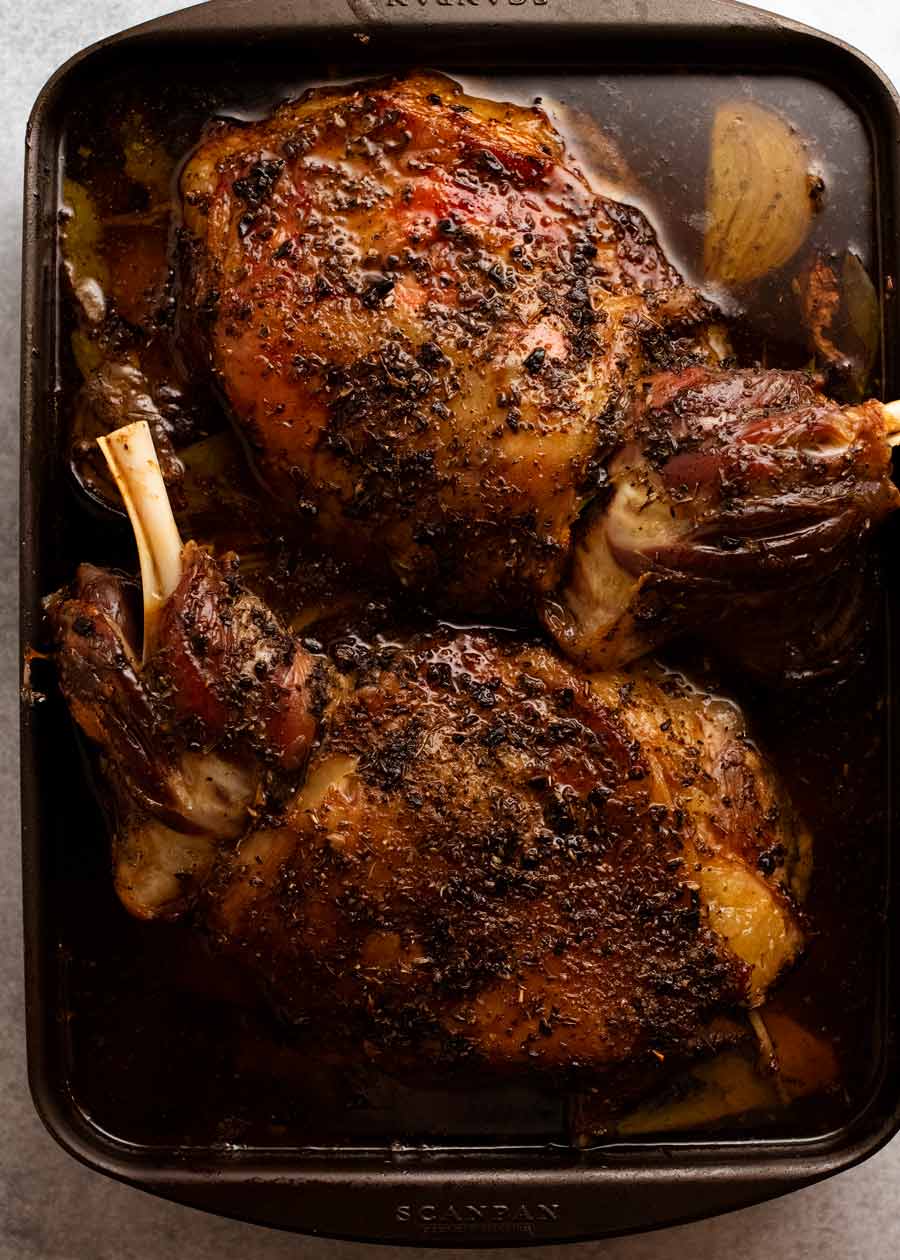
Fall-apart meat and LOTS of liquid! When the lamb emerges from the oven in the morning, the flesh should pry apart with very little effort (check the side, not top, to preserve presentation). The pan will have even MORE liquid than it started with because of all the lamb juices. See? No risk of a dry pan burning!
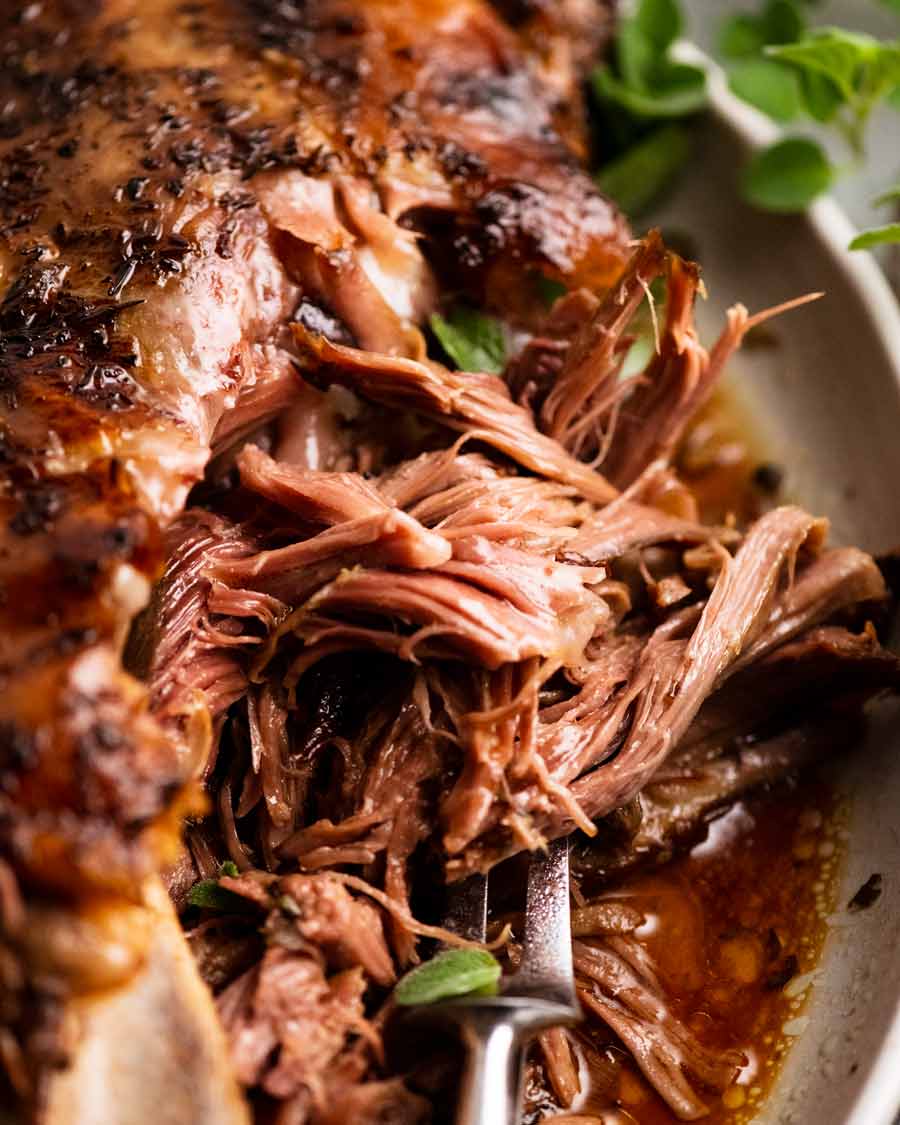
For serving / holding / reheating advice and guidelines on how I would time things to make it effortless for serving at gatherings, see the section just before the recipe video. For now, let me show you how to make the sauce – Lamb Jus!
Lamb Jus: Fancy-sounding but super-easy gravy
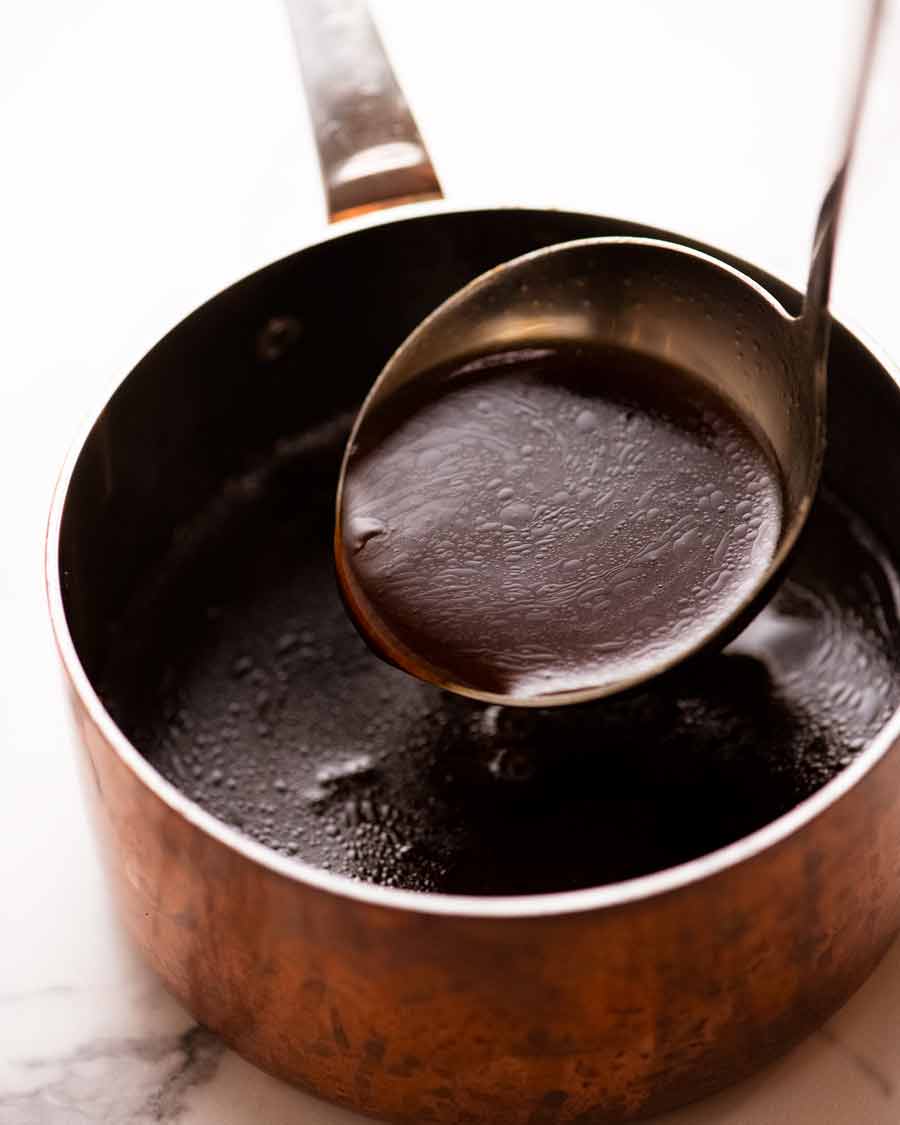
The sauce for this slow-roast lamb is an intensely-flavoured wonder, packed with the tasty and meaty goodness you can only get from 12 hours of slow cooking! Technically this is a kind of jus as opposed to a gravy, because it’s made from a reduction of meat juices rather than pan scrapings.
The nice thing about it is that it’s much less fussy to make than gravy. No wrangling a roasting pan on the stove to make a roux with the fat in the pan here. Instead, we simply simmer the pan juices to concentrate, then thicken slightly with cornflour / cornstarch so it coats the meat nicely when doused.
How to make Lamb Jus

-
Reduce pan juices – Remove the lamb to a platter, another roasting pan or a large container. Then strain all the pan juices into a saucepan. Simmer rapidly to reduce to 1 cup.
-
Thicken with cornflour – Make a cornflour slurry by mixing 1 teaspoon of cornflour with 1/4 cup of water. Pour that straight into the saucepan while stirring. At first it will make the liquid murky, but as it comes up to the boil it will become shiny and clear, and will thicken slightly.
We do not want the jus to be too thick – not like our usual gravy that we serve with roasts. A jus is supposed to be thinner. This is because it looks and pours more elegantly than a more viscous gravy. Also because it typically has more intense savoury flavour than gravy, you use less. So we want the sauce to run more readily so it coats the meat more thinly than gravy (in, say, the 3-hour lamb shoulder).
Once the jus is ready, pour into a jug and serve alongside the lamb. It can be made days in advance, stored in a container and reheated simply in the microwave or on the stove.

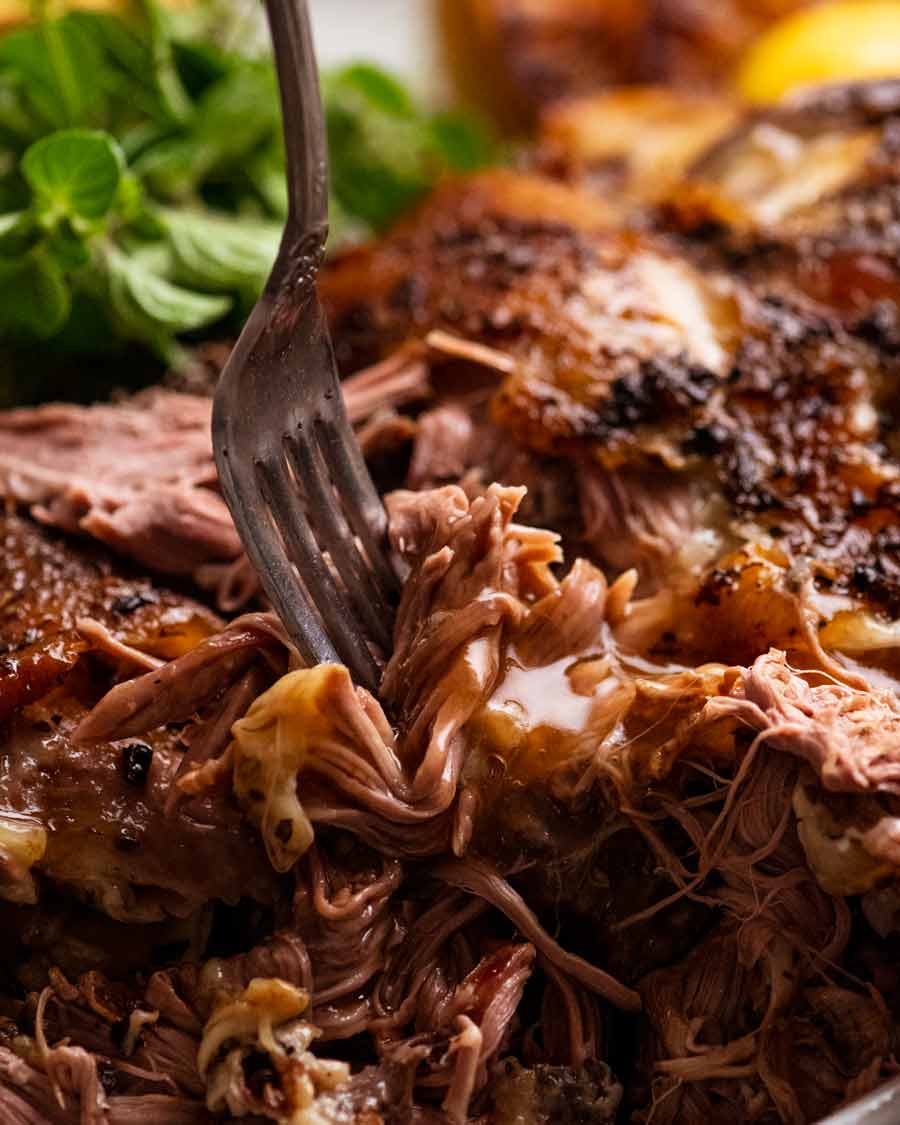
A go-to main for gatherings
As I mentioned right at the beginning, some of the reasons this has become my go-to centrepiece for a a group menu is because:
-
It’s easy to scale up (up to 4 shoulders in one oven)
-
It’s pretty much entirely hands-off
-
It can be made ahead the night before, and reheats 100% perfectly
So I thought it might be helpful to also share with you my typical roast-cooking game plans including timings, which I follow depending on when and how I plan to serve the roast.
Serving your roast: Planning & timings
-
If serving at a lunch … Roast the shoulder(s) overnight. I usually put it in at 8pm for browning, 9 pm for the 12 hour slow roast, then pull it out at 9am in the morning. The lamb has so much heat in it, it’s fine to stay out on the counter until lunch is served at 1pm or so. If it needs a touch of reheating, just give it a quick blast in the microwave (yep, seriously…) or cover with foil and pop it in a 150°C/300°F oven.
This also leaves room for further oven time if needed, if the lamb flesh was not quite fall-apart.
-
If serving at a dinner … Roast lamb shoulder(s) overnight. Time it to suit your sleep schedule!
After it comes out of the oven the next day, fully cool to room temperature. Make the jus. Then cover and refrigerate all. Take lamb out of fridge 3 hours prior to serving (yes, it takes hours to come to room temperature, so that reheating is easier and more even). Reheat 1 hour, covered, in oven.
-
For early birds! … Rise early and get the lamb in the oven by 6 am (!!) so it’s out of the oven by 7 pm ready for dinner. (45 minutes roasting uncovered + 12 hour slow roast time). Warning: For the sure hand only! This is a tight schedule. I really do find it’s just easier to cook the night before!!!
-
How to keep it warm during service … If you are planning to serve the lamb buffet-style where people take time to serve themselves, it’s best to serve the lamb inside a slow cooker on warm mode. I place a whole lamb shoulder in there, putting out one at a time (the others stays warm, covered in the oven) and people use tongs to pull the meat off. Easy, no carving, and help-yourself serving!
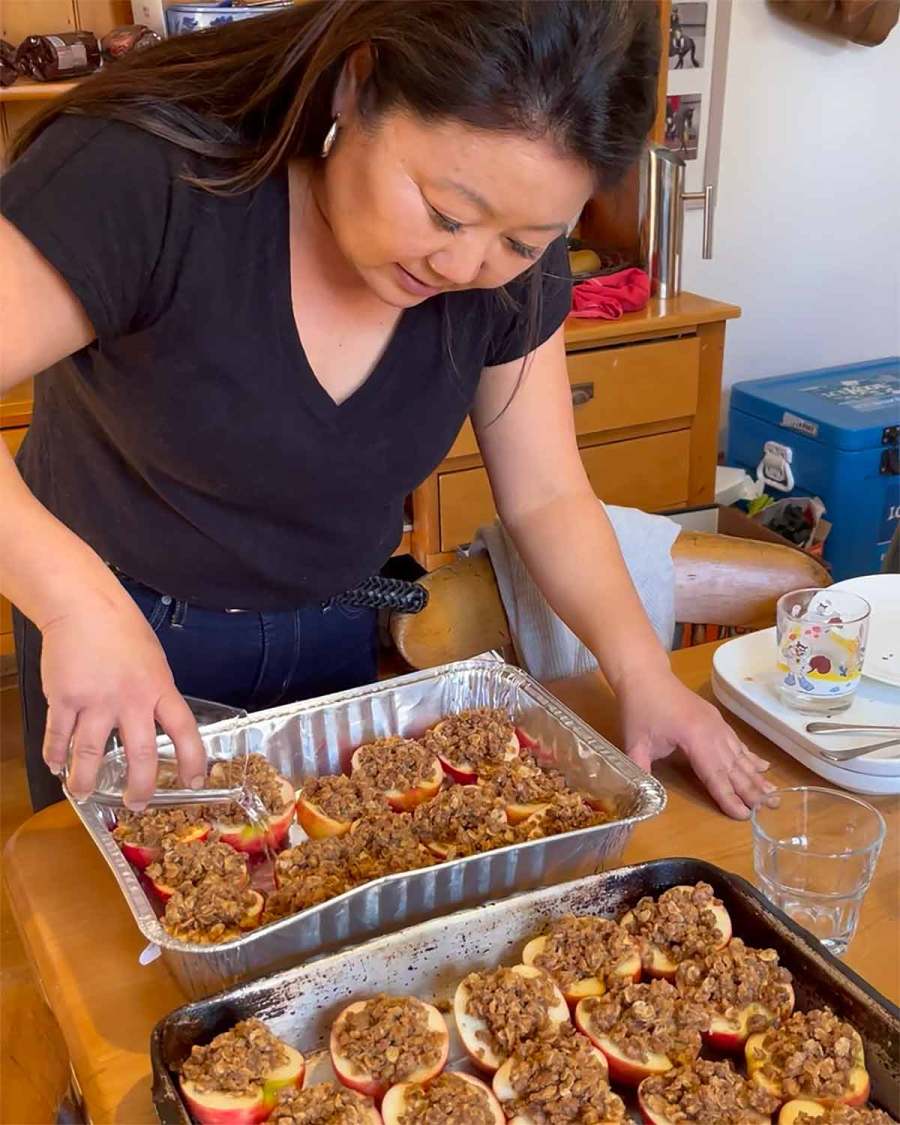
Here’s a couple of gatherings from this year that starred this 12 hour slow roasted lamb! Firstly, my belated New Years’ Eve 2021 party that took place in March:
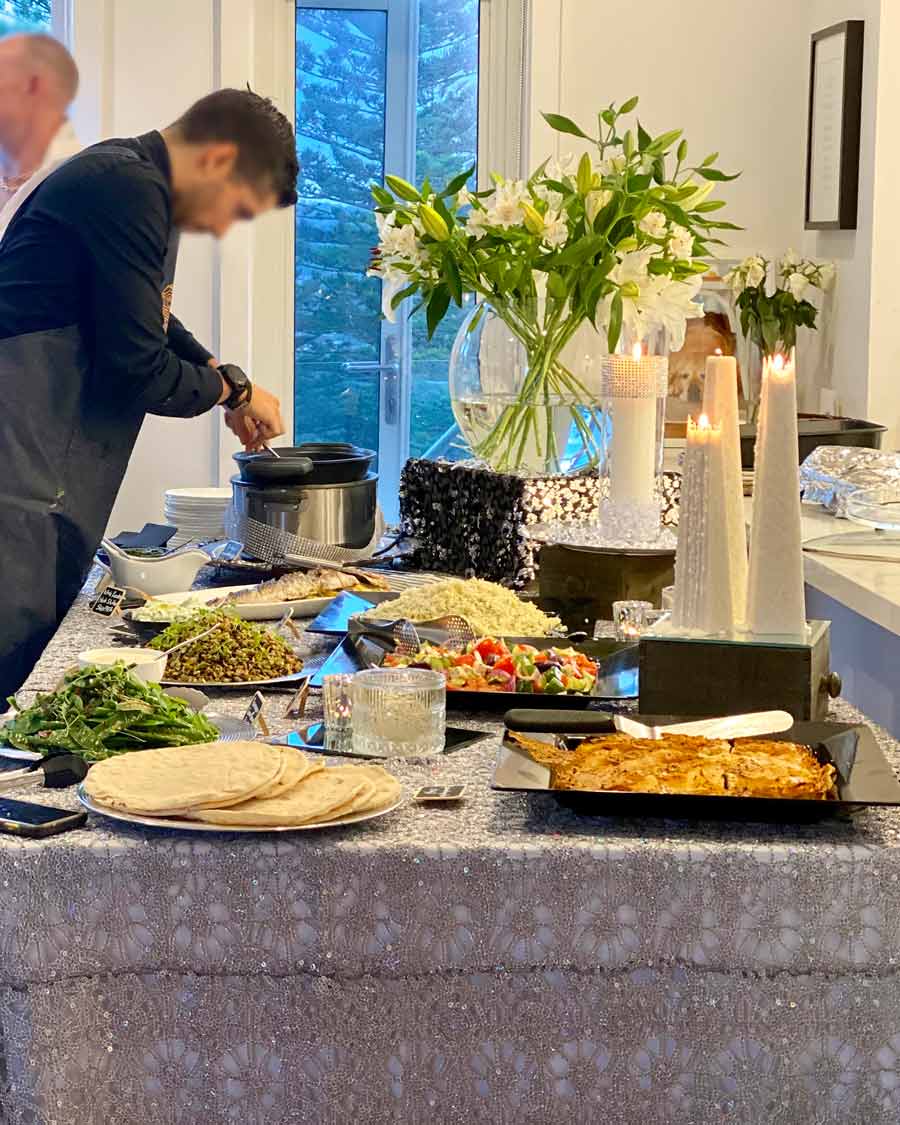
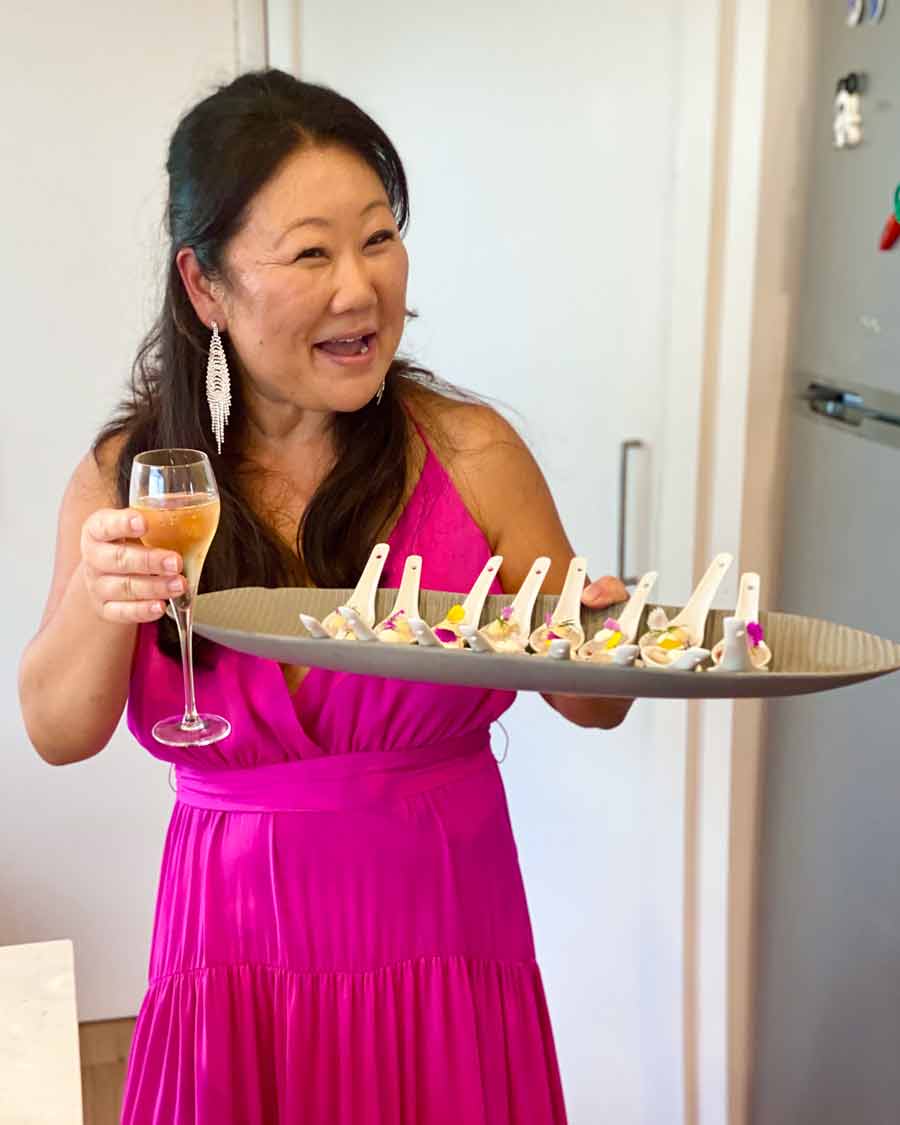

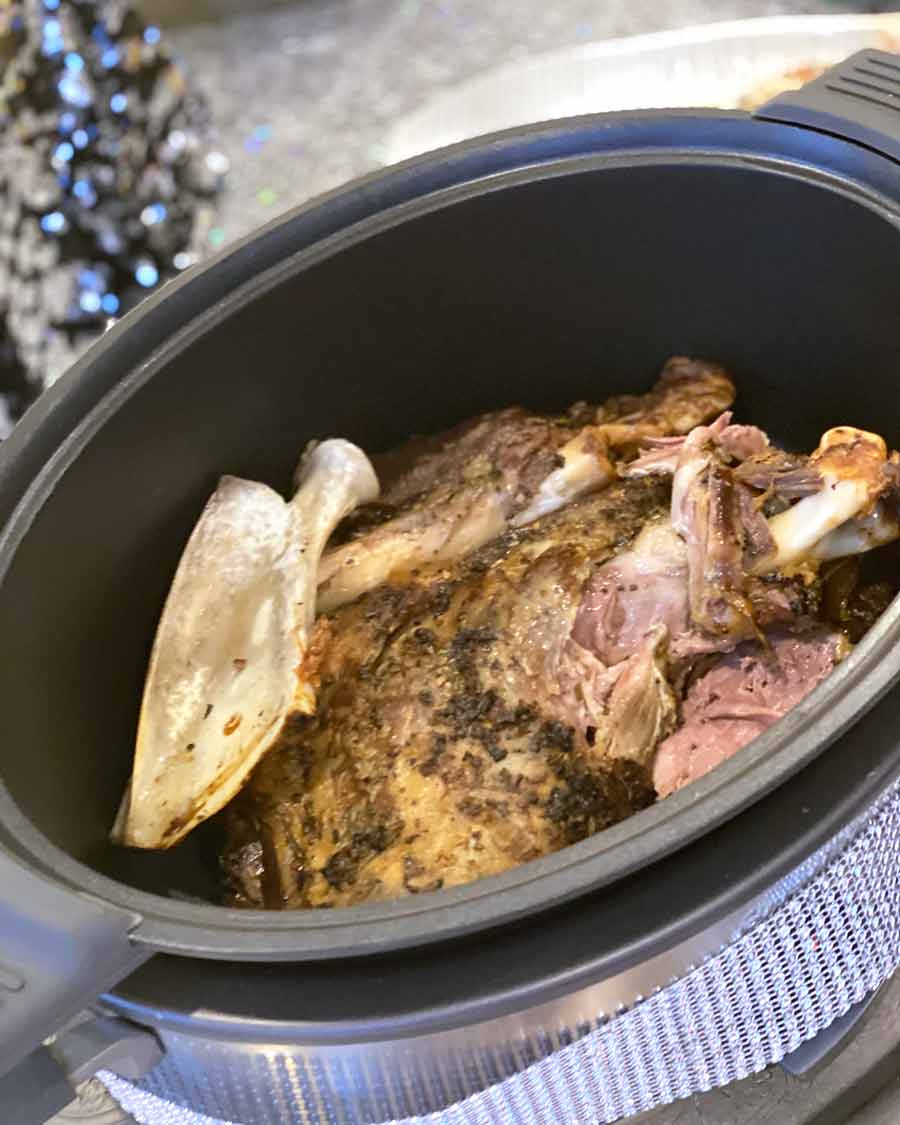
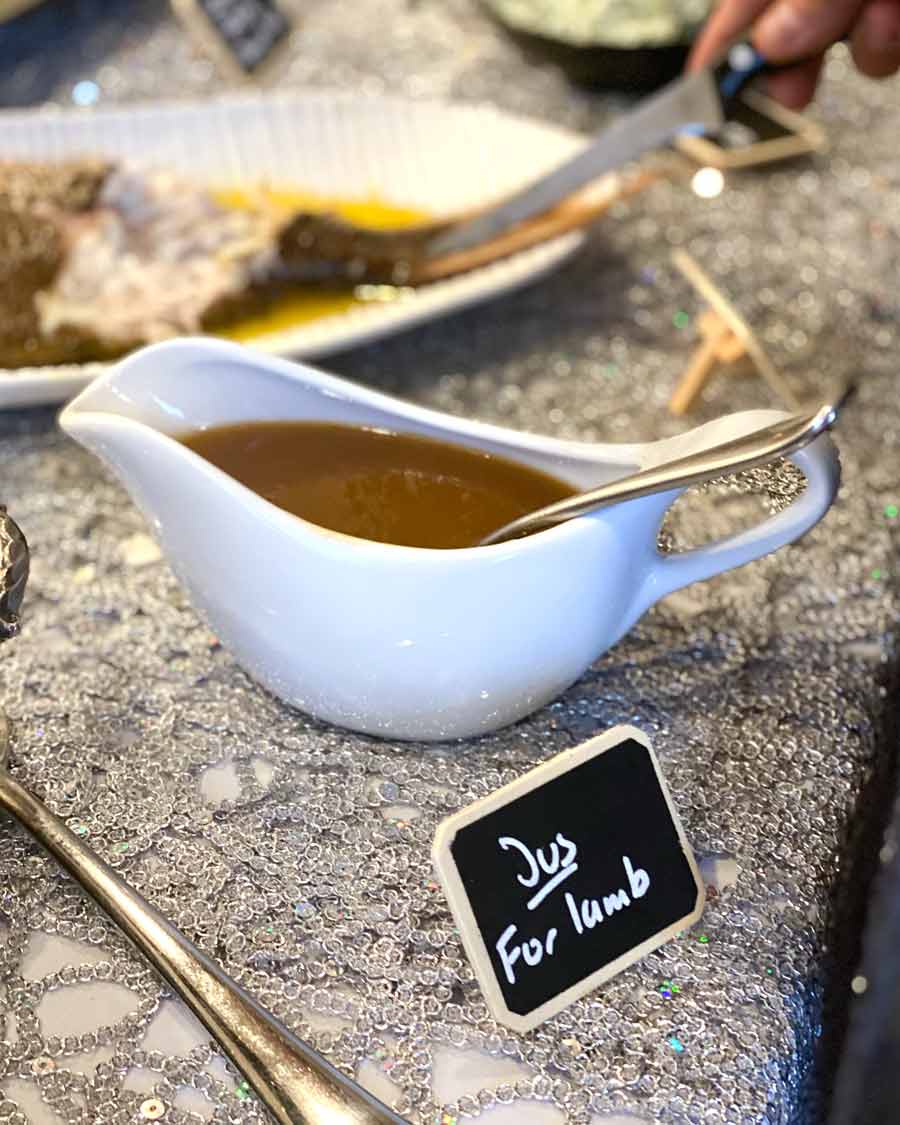
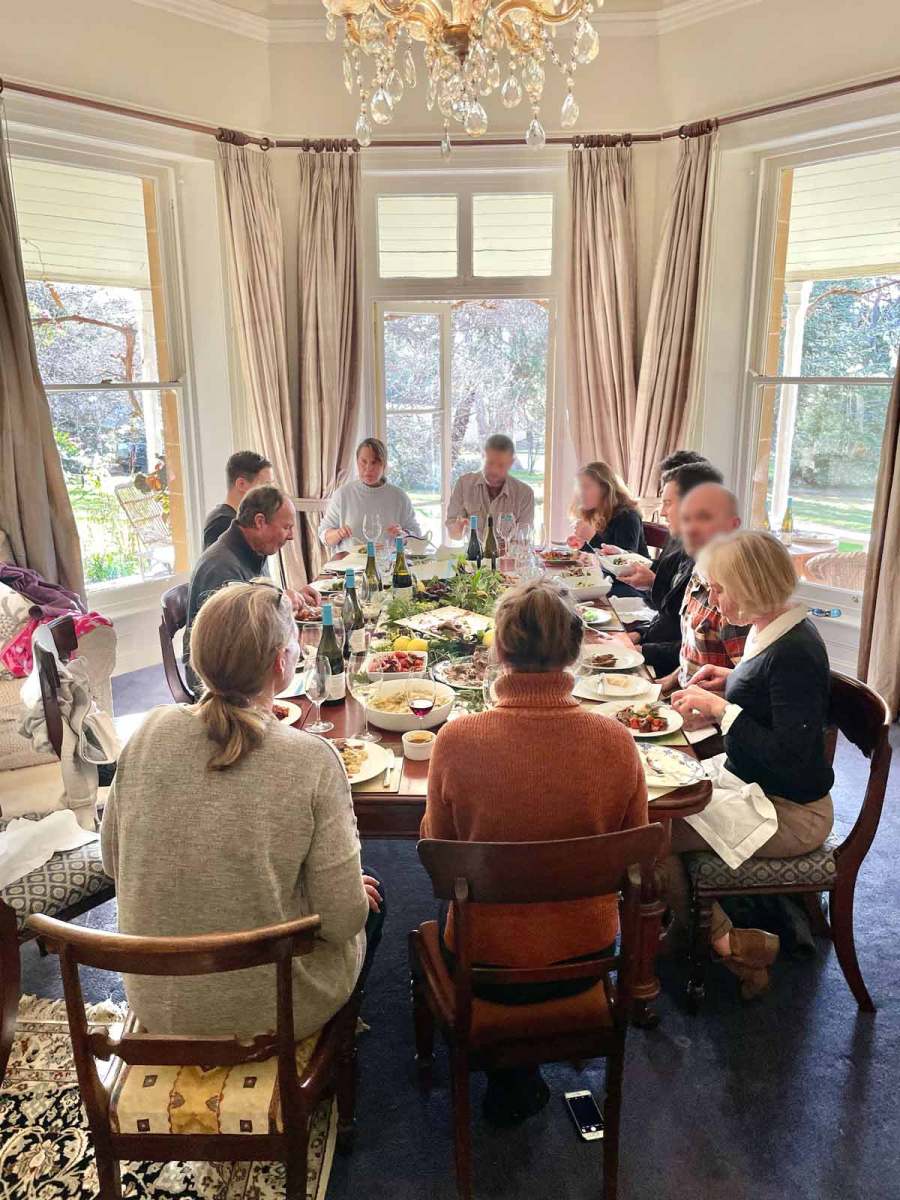
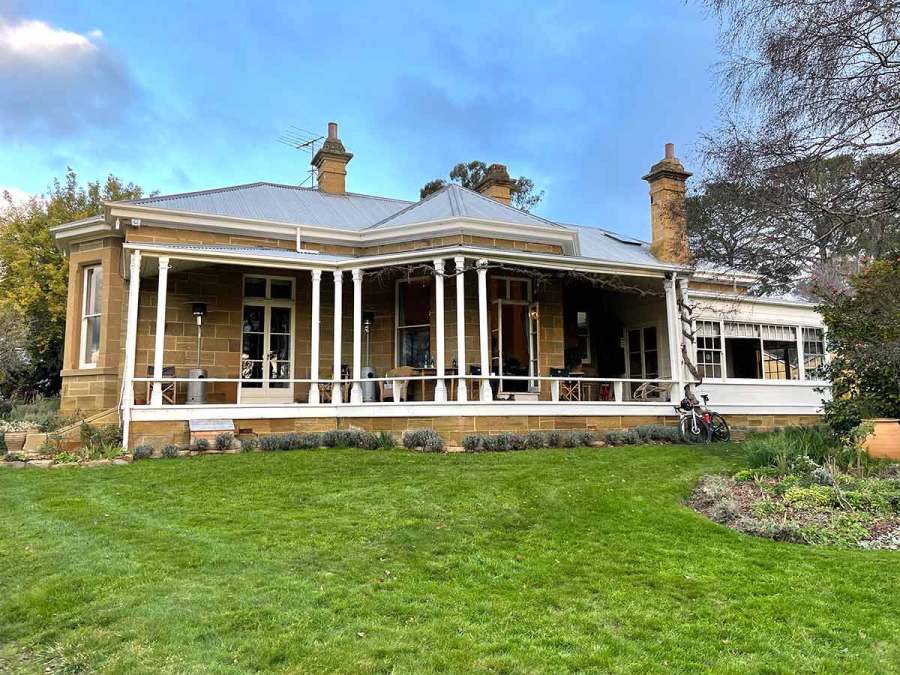
And more recently on a trip to Tasmania when I took over the kitchen of Meadowbank Vineyard to put on a big lunch for Tassie friends! Four lamb shoulders were slow-cooked overnight in one oven in the Air BNB I was staying at, then were transported to the vineyard in the morning for the lunch. More on this trip in the Postcards from Tasmania sectionin this newsletter from when I took the trip.
What to serve with 12 hour roast lamb
A grand main deserves worthy sides!!
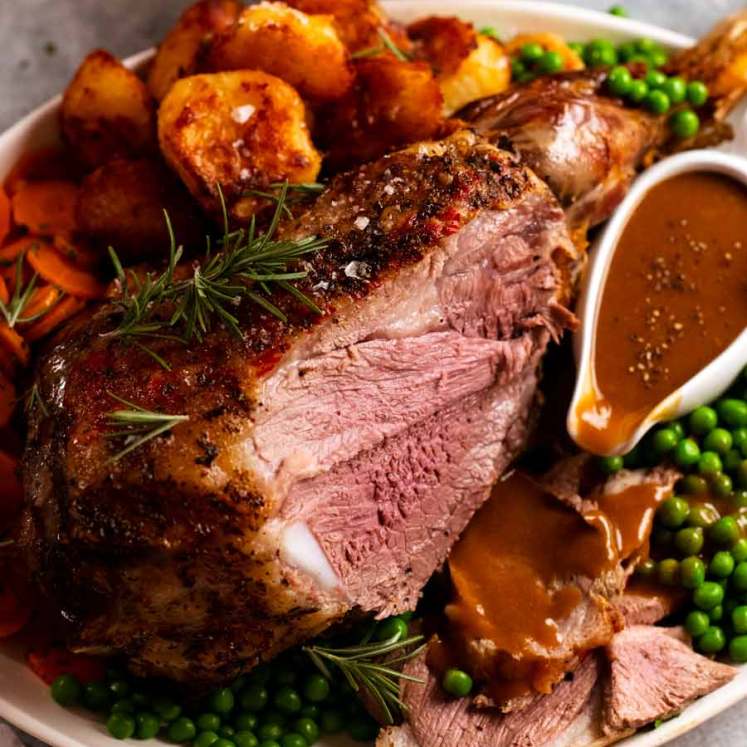
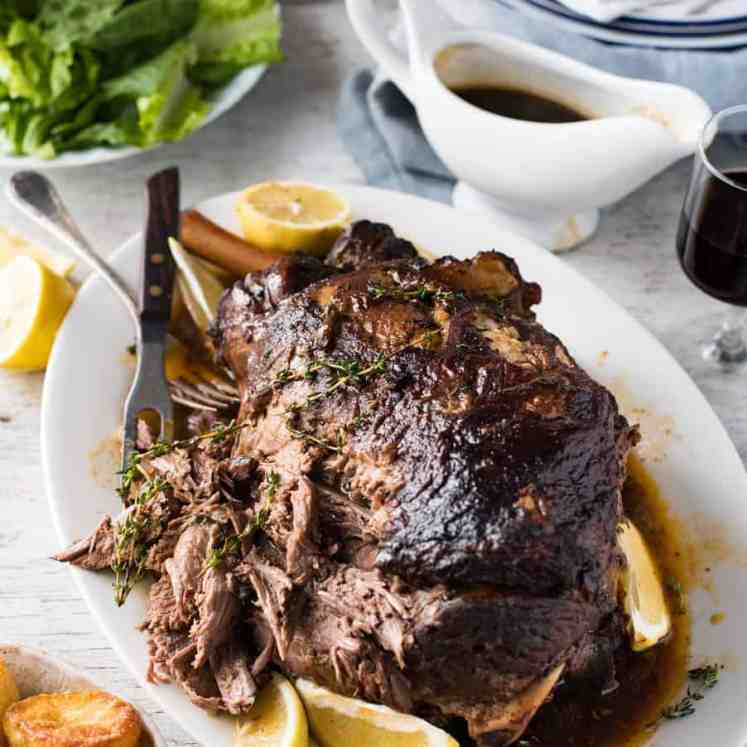
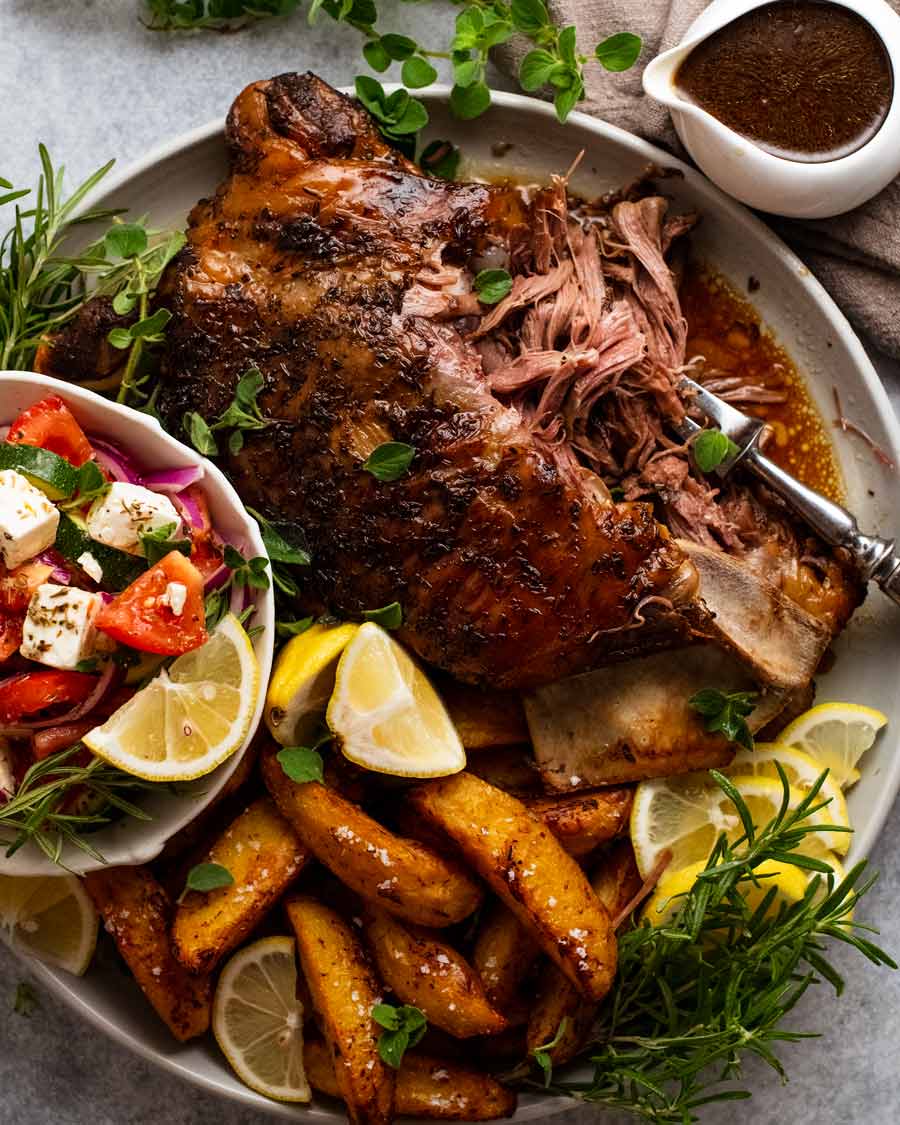
It’s pictured above with Greek Lemon Potatoes, which are a perfect match for this Mediterranean-style lamb. Also peeking out of the bottom corner is a big, juicy Greek Salad which is a lovely fresh side to cut through the richness of the lamb.
A big pan of Herb & Garlic Roasted Vegetables would also be ideal and can be made after the lamb comes out of the oven since the lamb will stay warm for hours upon hours.
For a luxe option, add a side of Duck Fat Potatoes, the crunchiest roast potatoes you will ever have in your life. And for greens, a big bowl of the Garlic Sautéed Green Beans from Wednesday would be ideal!
So! What do you think? Have I convinced you to give this a go? I don’t crown this the ULTIMATE Roast Lamb lightly! I truly do believe this to be the best way to roast a lamb, for the most superior results. And I’ve shared a fair few of roast lamb recipes in my time, just look below!
More of my Roast lamb recipes
– Nagi x
Watch how to make it
This recipe features in my debut cookbook Dinner. The book is mostly new recipes, but this is a reader favourite included by popular demand!
Hungry for more? Subscribe to my newsletter and follow along on Facebook, Pinterest and Instagram for all of the latest updates.
Ultimate slow-roasted lamb: 12-hour Lamb Shoulder
#wprm-recipe-rating-0 .wprm-rating-star.wprm-rating-star-full svg * { fill: #343434; }#wprm-recipe-rating-0 .wprm-rating-star.wprm-rating-star-33 svg * { fill: url(#wprm-recipe-rating-0-33); }#wprm-recipe-rating-0 .wprm-rating-star.wprm-rating-star-50 svg * { fill: url(#wprm-recipe-rating-0-50); }#wprm-recipe-rating-0 .wprm-rating-star.wprm-rating-star-66 svg * { fill: url(#wprm-recipe-rating-0-66); }linearGradient#wprm-recipe-rating-0-33 stop { stop-color: #343434; }linearGradient#wprm-recipe-rating-0-50 stop { stop-color: #343434; }linearGradient#wprm-recipe-rating-0-66 stop { stop-color: #343434; }
Ingredients
- 1.6 – 2.2kg / 3.2 – 4.4lblamb shoulder, bone-in (Note 1)
- 2cupswater(Note 2)
- 1brown onion(unpeeled), cut into 6 wedges (Note 3)
Marinade
- 2 1/2tspfresh rosemary, chopped (finely)
- 1tbspdried oregano
- 2garlic cloves (big!), finely chopped
- 1tspsalt, kosher or cooking salt (or 3/4 tsp table salt)
- 1/2tspblack pepper
- 1/4cupextra virgin olive oil
Jus, for serving
- 1tspcornflour / cornstarch
- 1/4cupwater
- 1/4tspsalt
Instructions
-
Preheat oven to 230°C / 450°F (210°C fan).
-
Marinade/rub: Mix the Marinade ingredients in a small bowl. Rub all over the lamb surface, getting it right into all the cracks and crevices!
-
Marinate 2 – 24 hrs: If time permits, marinate for 2 hours on the counter in a roasting pan, or up to 24 hours in the fridge. I skip this step more often than not, however. (Note 4)
-
Prepare roasting pan: Scatter onion in the base of the roasting pan. Place lamb shoulder on top . Pour water into pan.
-
Roast uncovered for 45 minutes.
-
Slow-roast 12 hours: Turn oven down to 100°C/210°F (both fan and standard, Note 5). Cover lamb with baking paper, then a double layer of foil and seal very tightly to avoid water evaporation. Roast for 12 hours (I always do overnight!).
-
Check meat – Test side of lamb with two forks. The meat should be fall-apart tender. If not, cover and return to oven.
-
Remove lamb: There will (should!) be a lot of liquid pooled under the lamb in the roasting pan. Remove lamb to a large dish. Cover loosely with foil to keep warm. It will stay warm for 2 to 3 hours. See Note for reheating / making ahead.
Lamb Jus:
-
Reduce liquid: Strain all the liquid in the roasting pan into a saucepan (Note 2). Bring to a boil then simmer rapidly on medium-high until it reduces down to 1 cup (250ml).
-
Thicken: Mix cornflour with water. Pour into jus in a thin stream while stirring continuously. Continue to cook for a minute or two over medium heat, stirring every now and then, until it thickens to a syrup consistency. Add salt and pepper to taste.
Serve:
-
Serve Slow Roasted Lamb with Jus. Use tongs for tearing meat off – no knife for carving needed! Pictured in post with Greek Lemon Roasted Potatoes, a perfect match for this Greek-ish flavoured lamb. Roasted Vegetables would also be ideal.
Recipe Notes:
1. Lamb shoulder – A tough cut of meat that needs to be cooked far beyond well done until the meat becomes fall-apart tender. You do not need a knife to carve this meat, pull it off with tongs!Shoulder comes in all sorts of sizes depending on the size/age of lamb! The cook time doesn’t really differ because the meat itself needs a minimum amount of time to break down and become tender, and also the low temperature means it’s very forgiving, ie. it’s hard to overcook this meat to the point it dries out.If your shoulder is really small though, say 1.2kg / 2.4lb, then you can probably cut down the cook time by 2 hours, but it should still be succulent even if you stick with the full 12 hours.Lamb leg – This recipe is not suitable for leg, please use this Slow Roasted Lamb Leg recipe instead.2. Water is all we need for the braising liquid because it gets so much flavour from the lamb juices, no need to use stock.Liquid in pan after slow roasting – If the foil was tightly sealed (and your lamb is juicy!), you will/should end up with 3 – 4 cups liquid at the end. If you have less than 1 cup, add water to top up before simmer on stove to make the Jus.3. Onion – Elevates the lamb slightly off base for more even cooking, plus adds flavour to the liquid that forms the Jus (sauce). Can keep skin on because it holds together better and we strain it out anyway.4. Marinating – The long and slow cook time means the lamb is essentially marinating as it cooks, in my opinion. But I’m sure people with a more refined palate than me can probably taste the difference between marinating, and not. (I can’t).5. Oven temp – I find that you need to use the same temperature for standard vs fan oven for low temperature, slow cooking. It’s something I’ve discovered over the years across various recipes, including things slow cooked at slightly higher temperatures like Massaman Lamb Shanks. I think it’s because the lower the oven temperature, the smaller the difference in actual oven heat between fan vs standard ovens.6. Workflow / timing / reheating: Here’s what I do –
- Serving for lunch – Slow roast overnight so it comes out of there oven around 9 am (to give a bit of headroom for extra oven time if needed, in case meat is not fall-apart-tender). Lamb will stay warm covered in foil for 3 hours easily, in a new pan or container (don’t leave in liquid, as it will continue cooking). If needed, reheat per below.
- Dinner – Slow roast overnight, allow lamb to cool to room temperature, then store in fridge. Take out 3 hours prior to serving (to de-chill for more even, faster reheating). Reheat covered in oven at 150°C/300°F for 1 hour (for 1 lamb shoulder; 4 will take longer). Emergency reheating option: Microwave it. Yes, really!
- Jus – Make, cool to room temperature, then refrigerate until required. Reheat in microwave or saucepan on stove.
Storage – Cooked lamb will keep in the fridge for 4 to 5 days, or freezer for 3 months. It is at its best within 24 hours of cooking I find, but it’s still 97% excellent on days 2 to 5.
Nutrition Information:
Life of Dozer
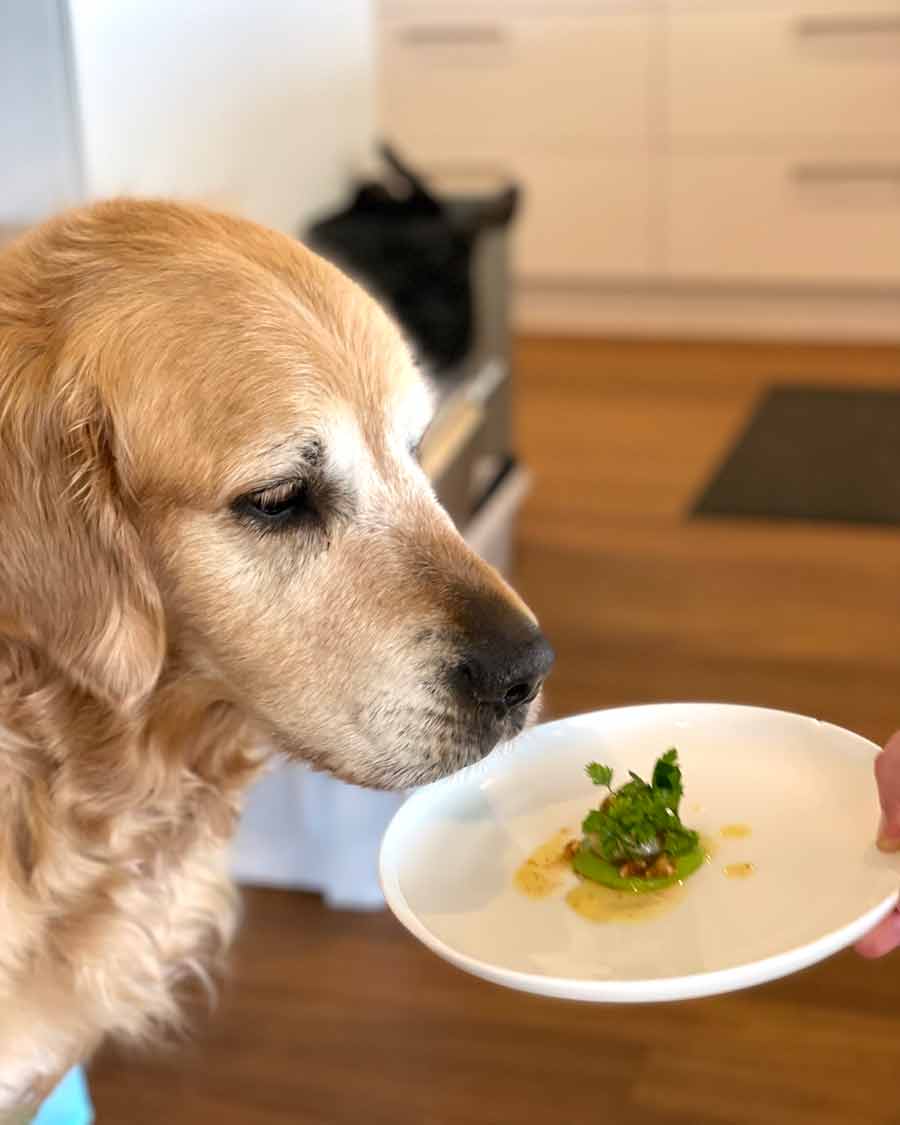
Dozer on the job: taste-testing a prospective recipe for the cookbook!
He approved. (He is very consistent with his rating, I find.)
